Crafting a felt witch Halloween costume for dolls is a fun and simple activity that celebrates the season to ignite kids imagination! With just some felt, scissors, and a touch of creativity, this project will make an ordinary doll into an enchanting witch! And once they have their Little Friend all decked out, they can let the hocus pocus begin, dreaming up stories and adventures. As they cut and add each tiny, whimsical detail, they’re not just creating costumes; they're nurturing a world of make-believe where dolls come to life and become part of thrilling Halloween escapades. So put on your witch hat, get out the cauldron, and get ready for a truly magical craft project that will create lasting and memorable fun!
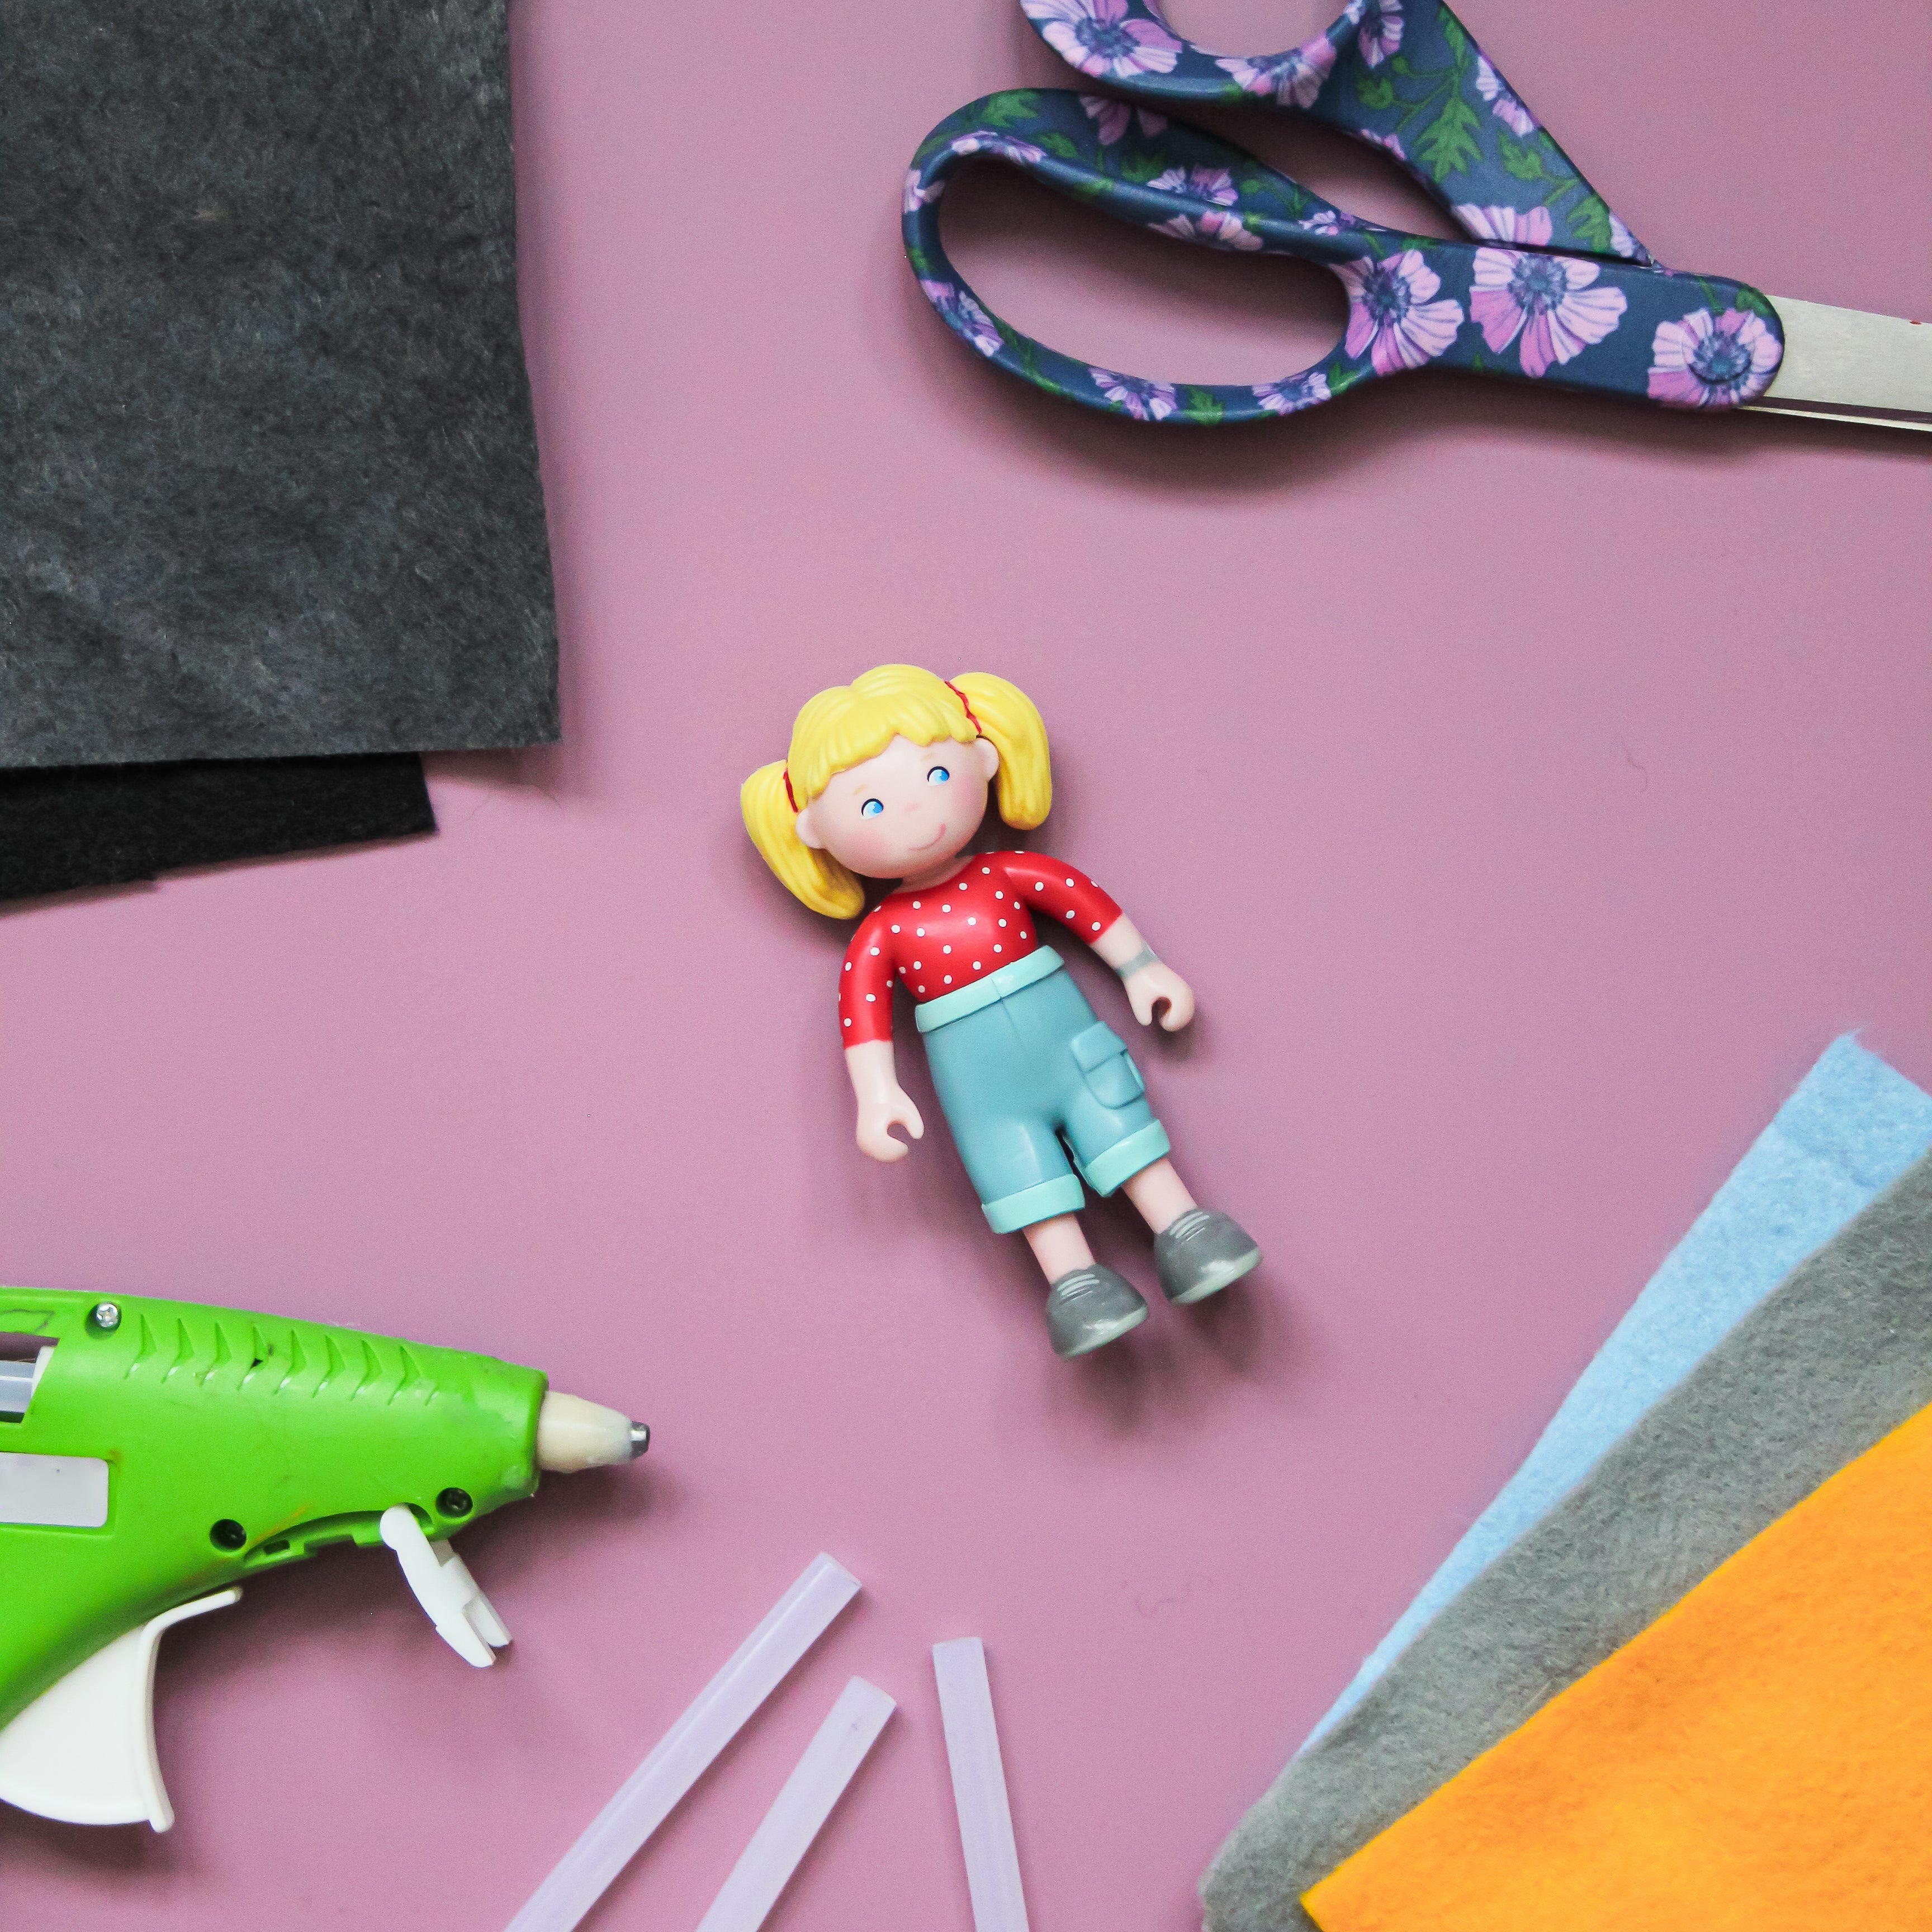
Gather Your Supplies:
These are the tools we used to create the Felt Witch Costume:
- Felt Sheets
- Hot Glue Gun
- A pair of scissors
- Imagination
Create your Little Friends Felt Witch Costume:
Step 1:
Print out the costume pattern HERE. Cut along the dotted line to create the pattern for your costume. Using the pattern, cut out the felt pieces.
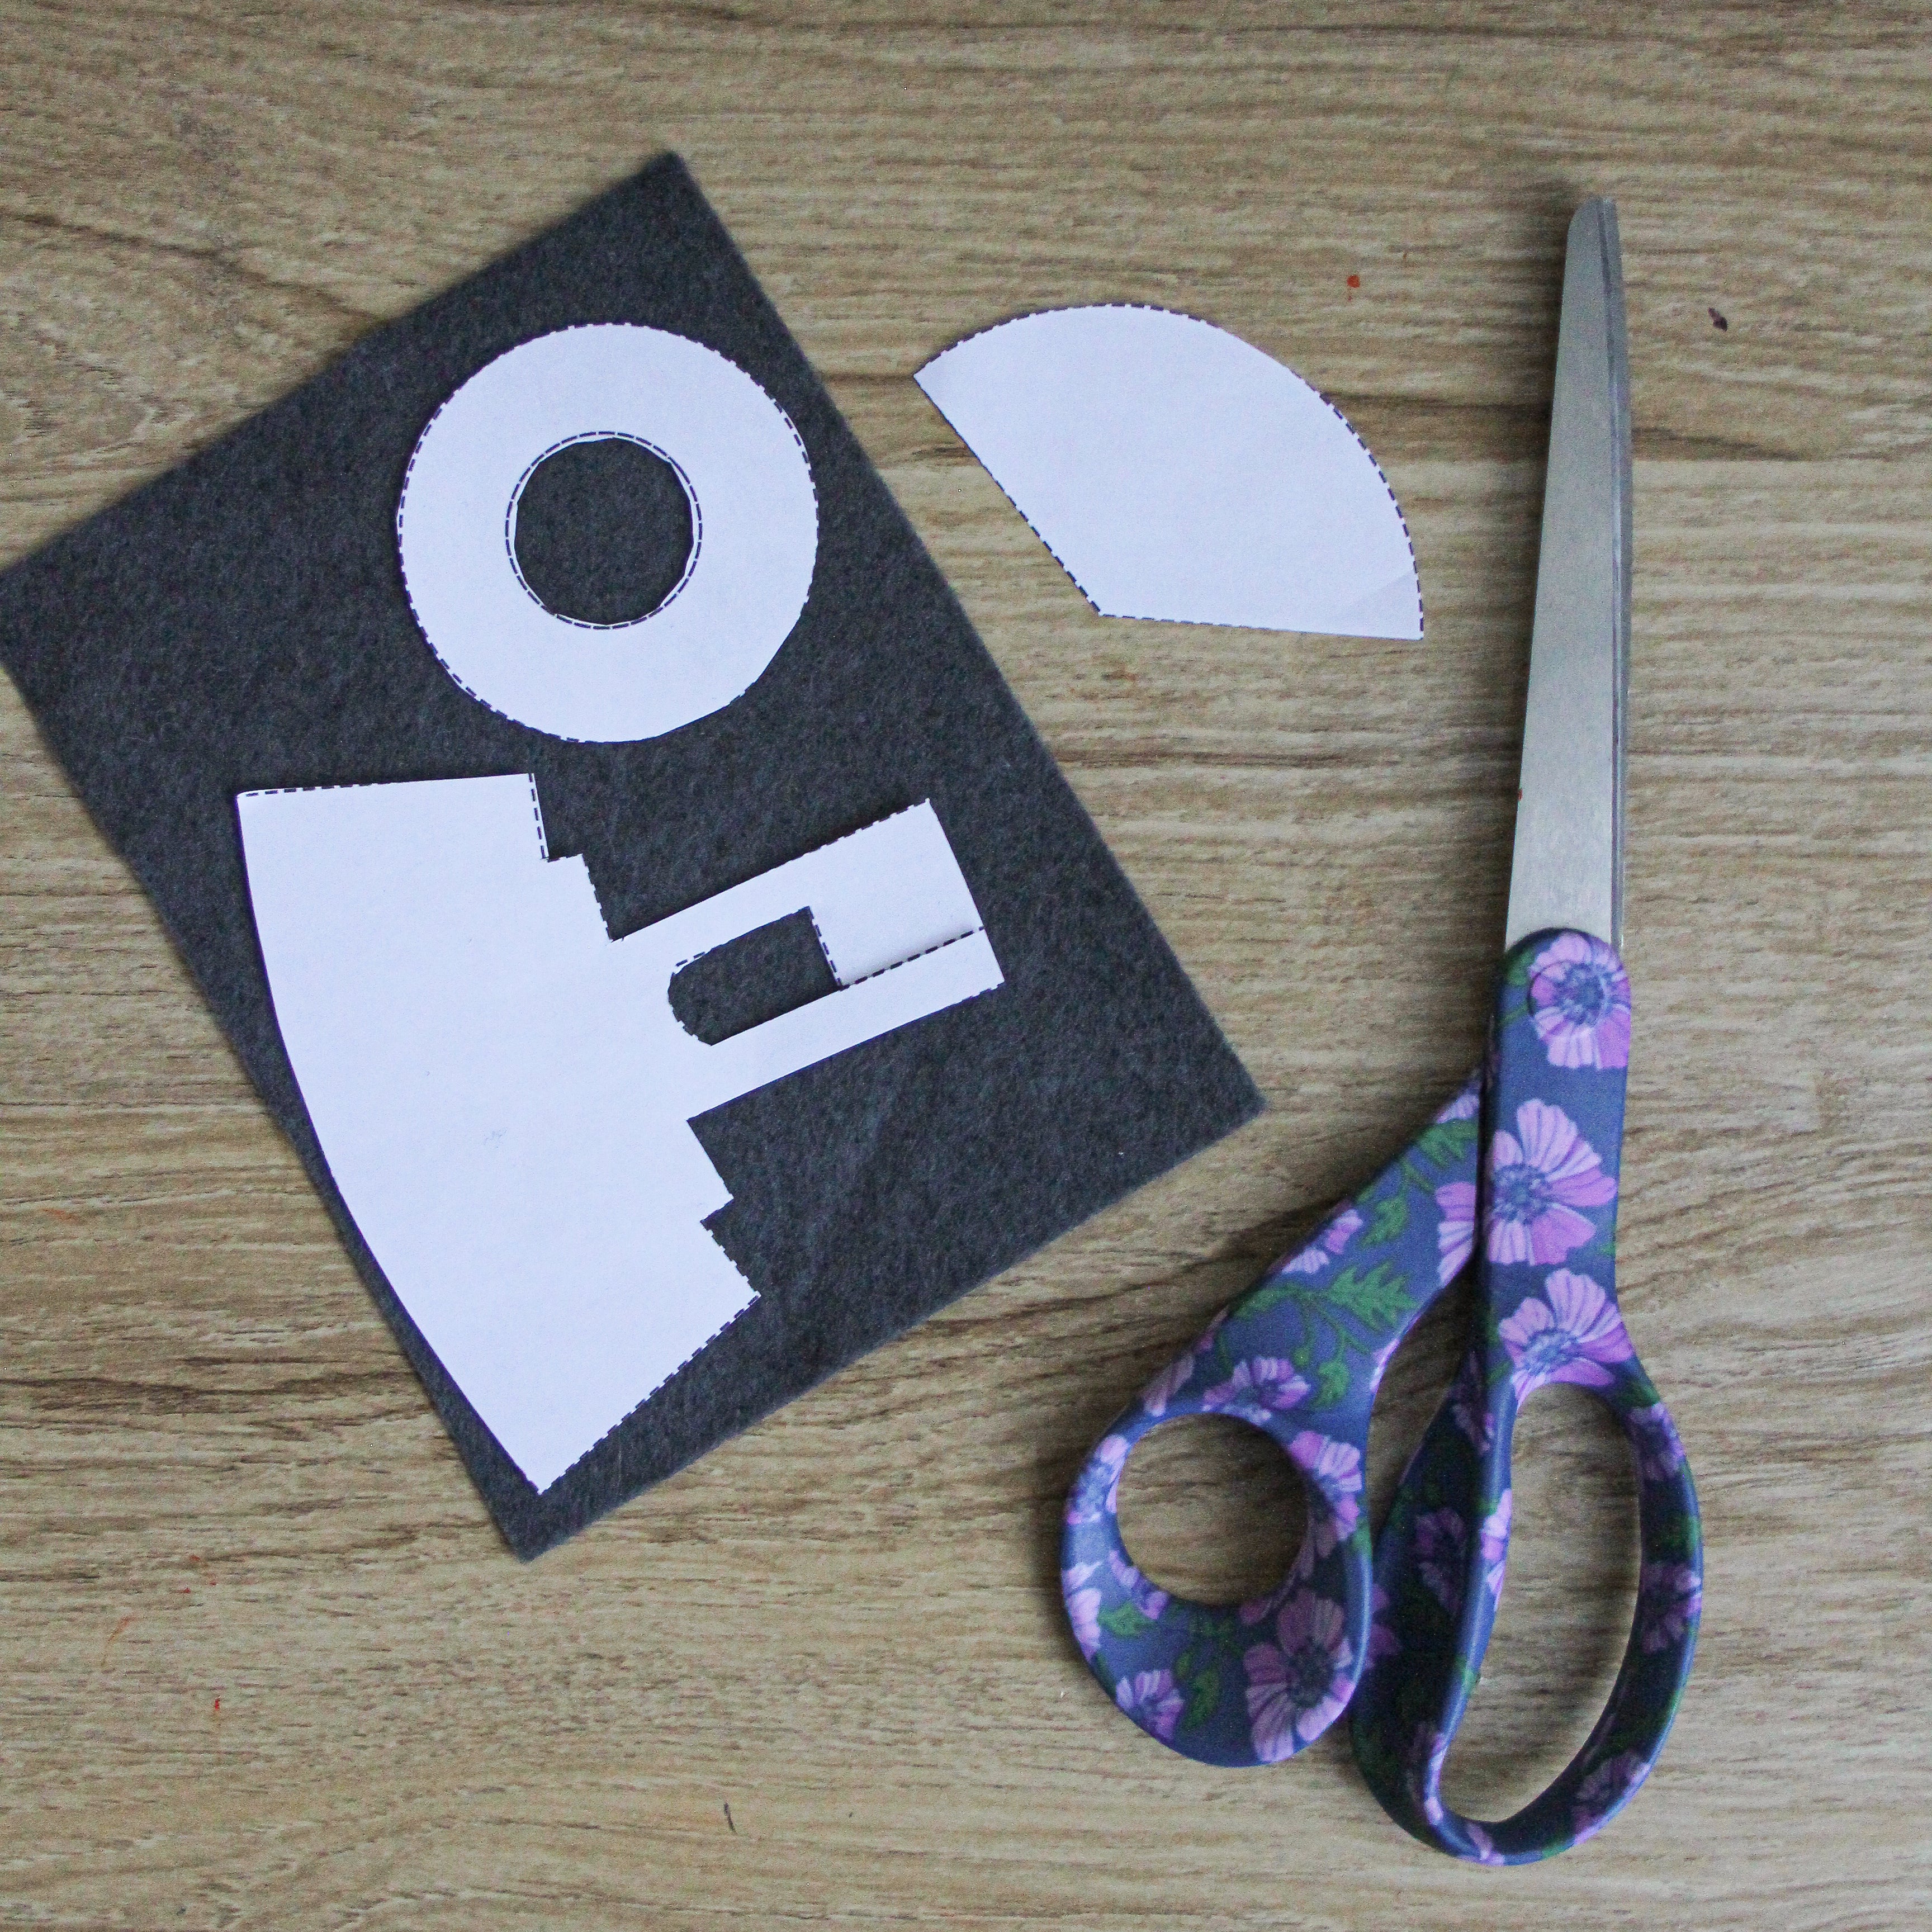
Step 2: Make the Felt Witch Hat
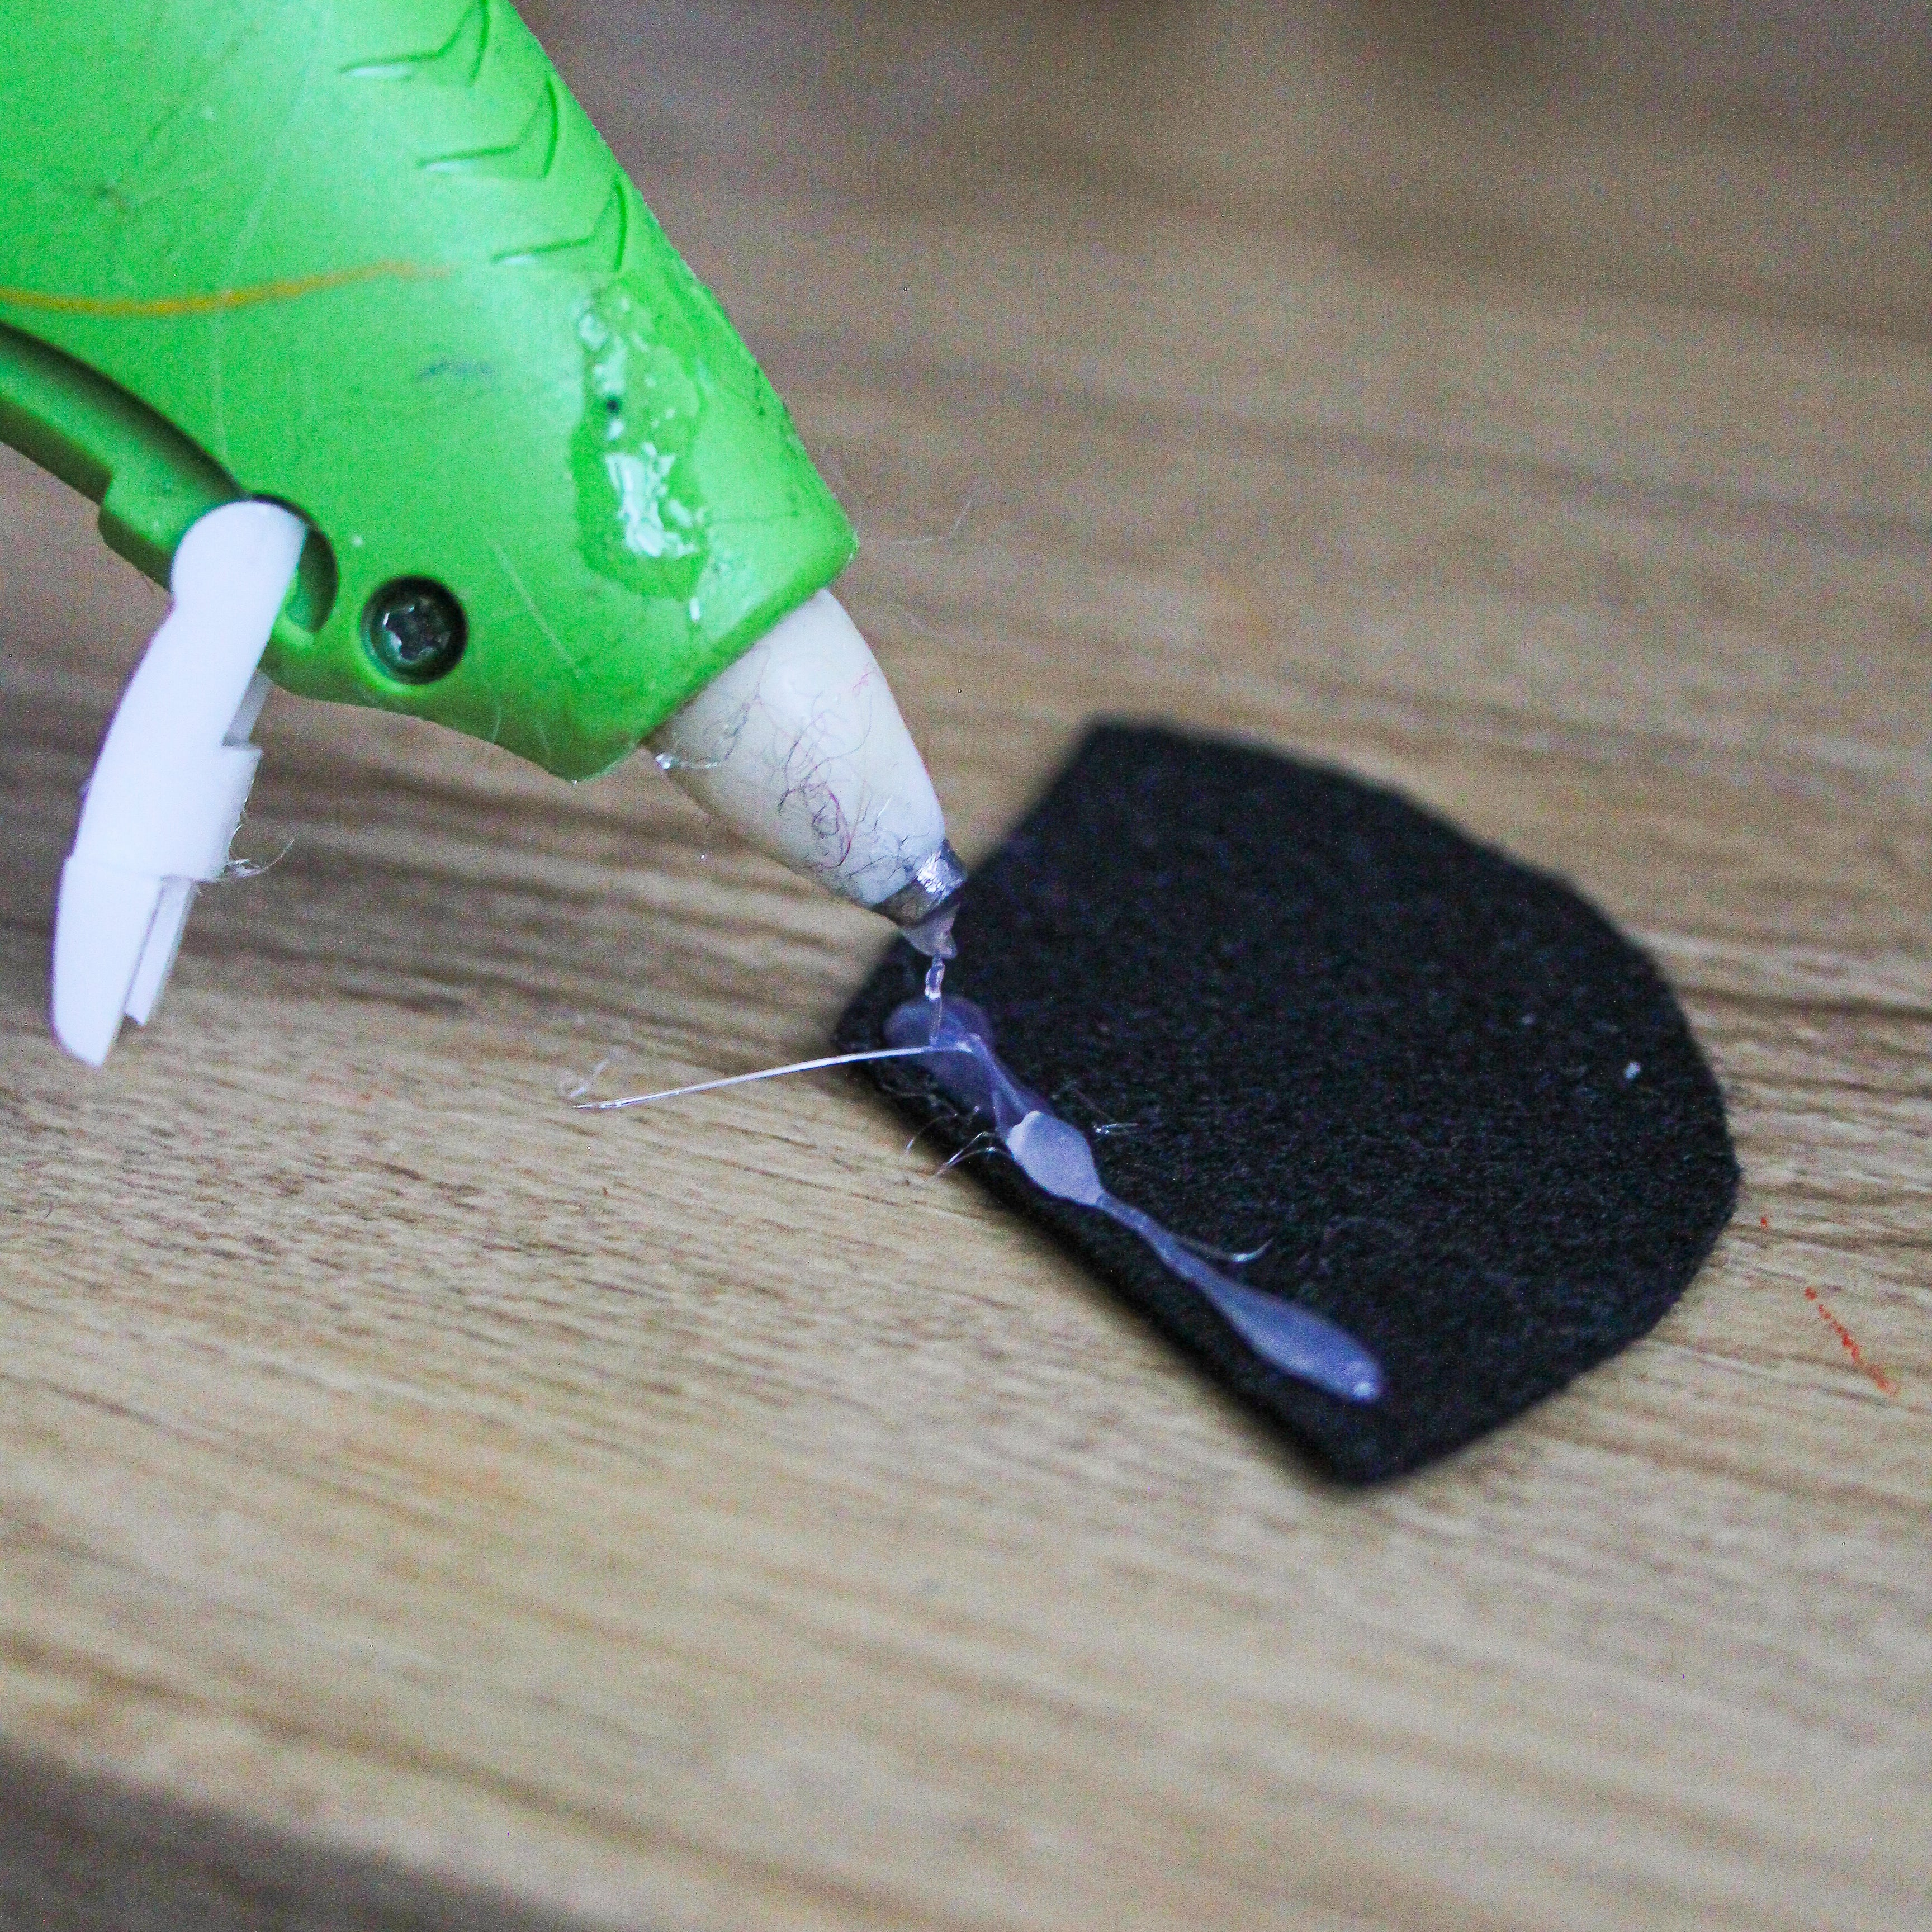
After cutting out the felt pieces, hot glue along one edge of the top part of the hat.
Step 3:
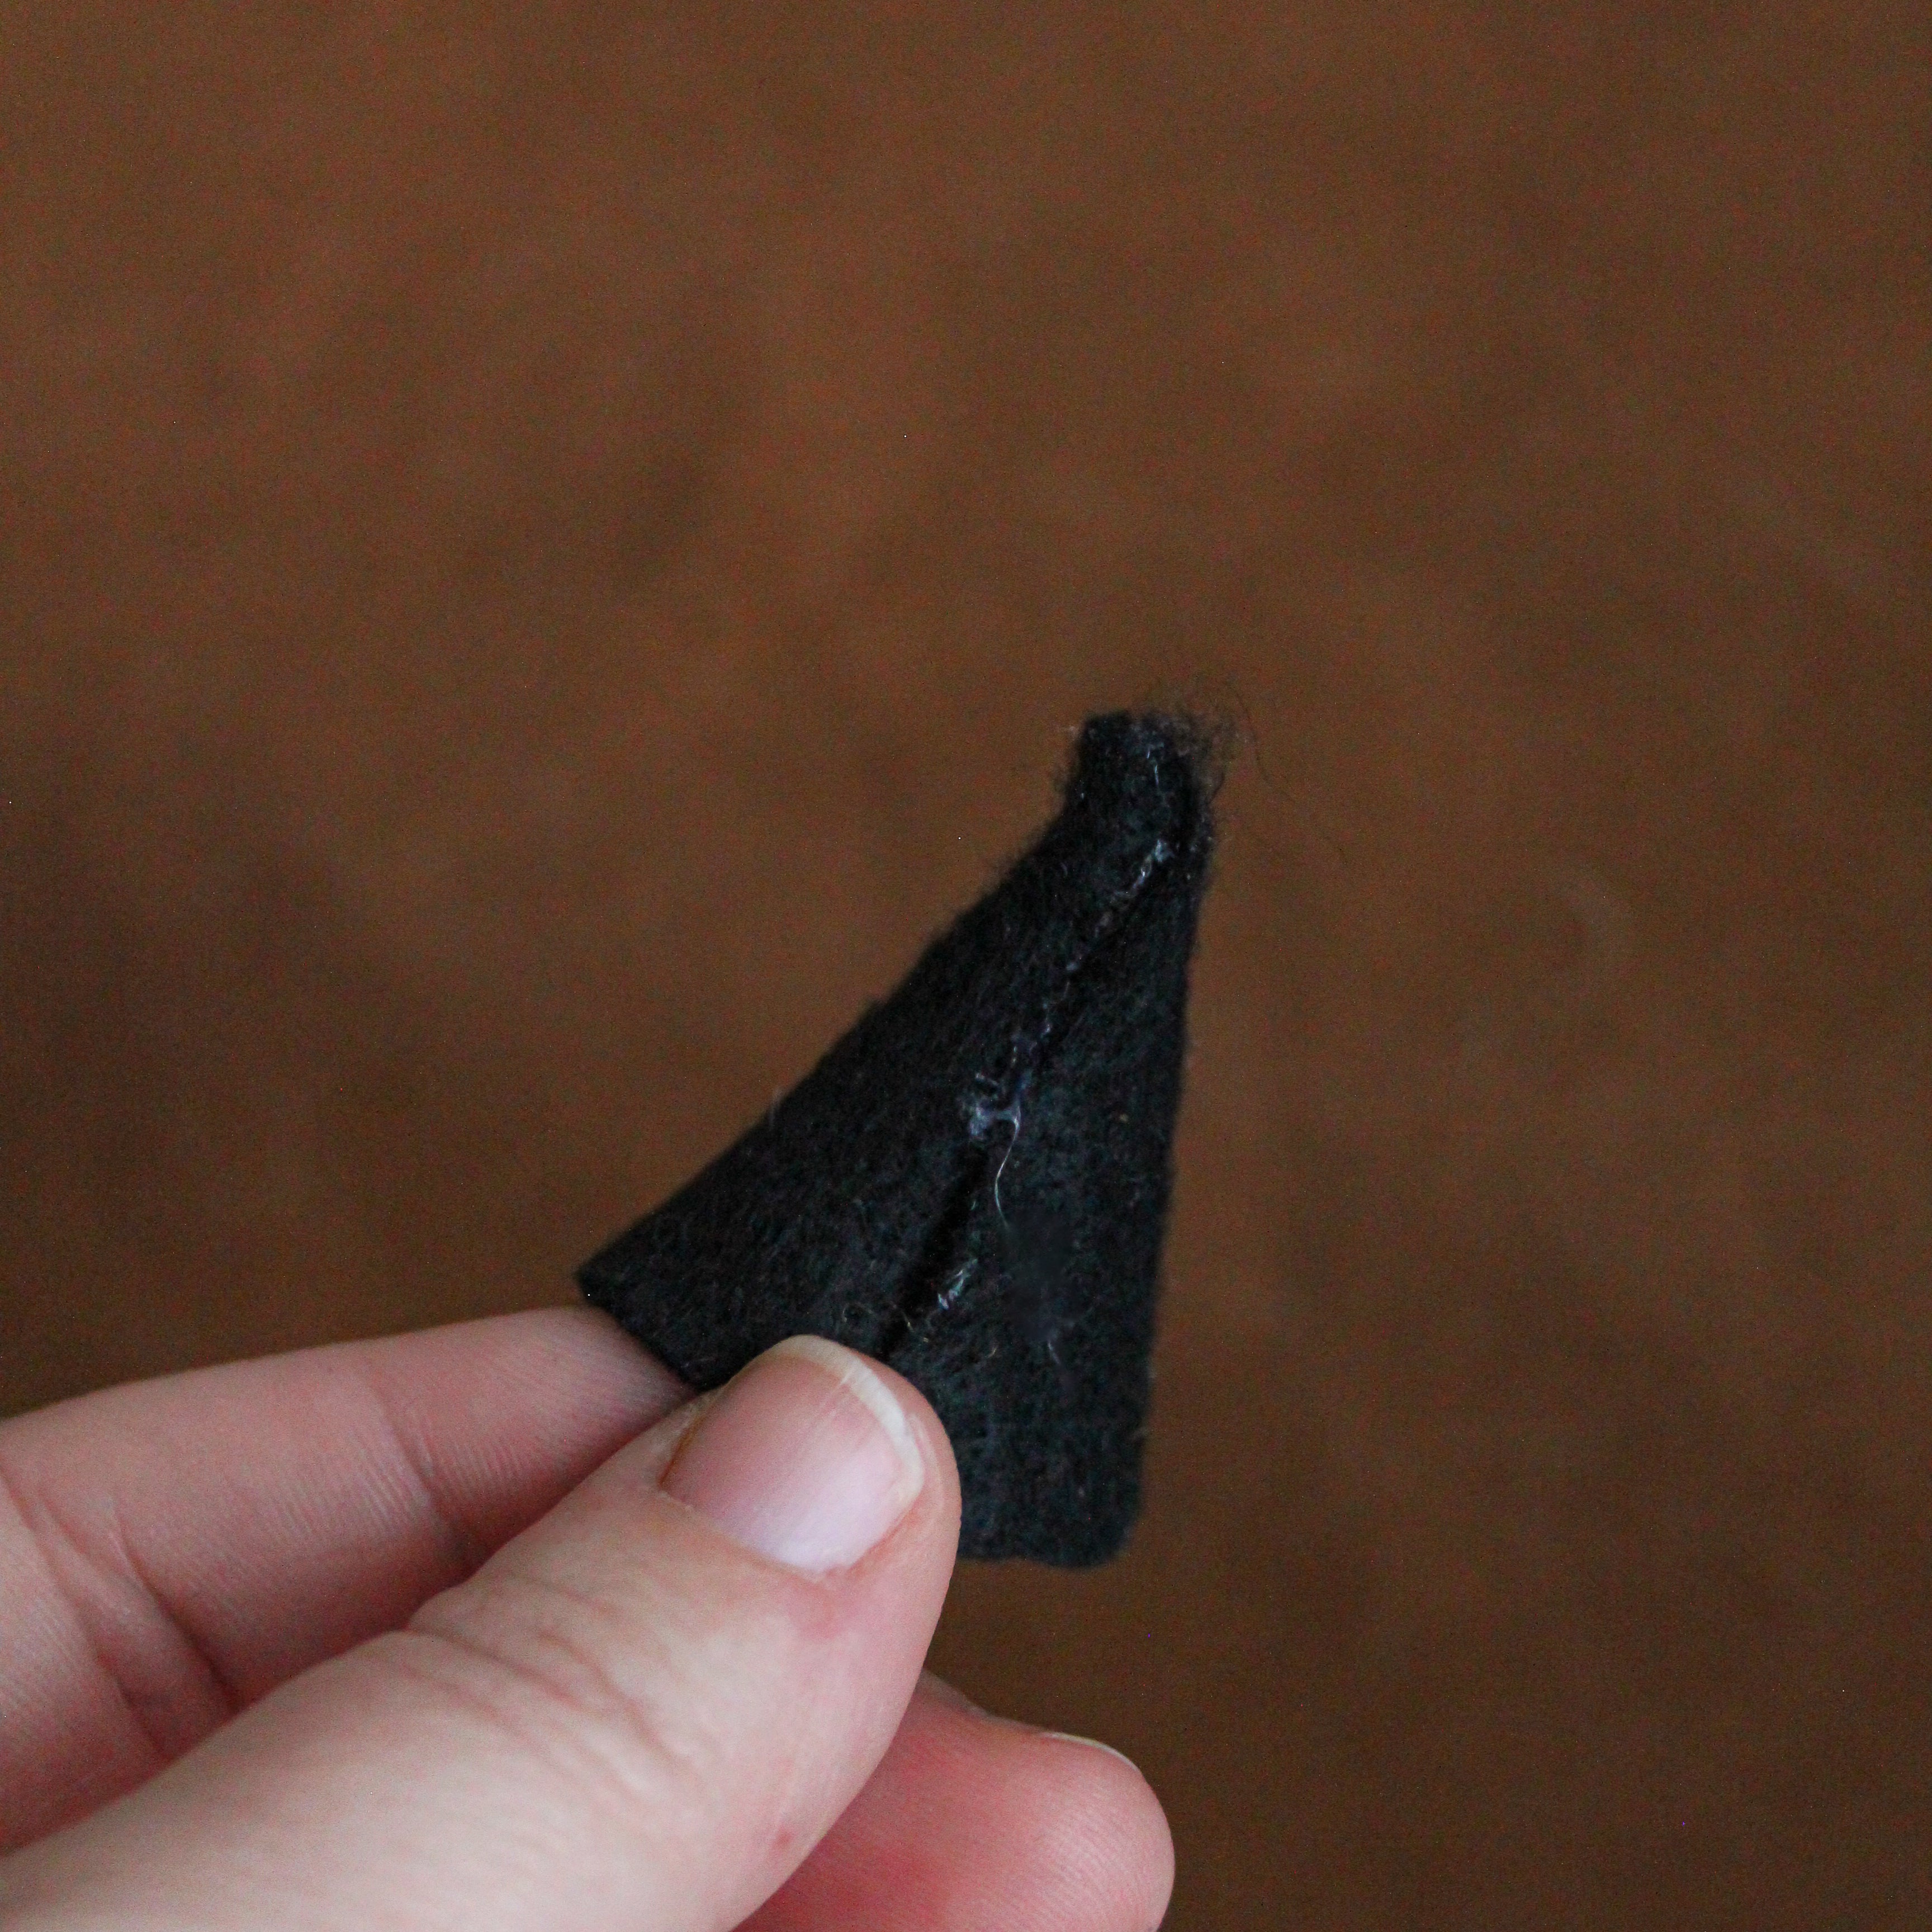
Press the edges of the felt together to form the top cone of the witch hat.
Step 4:
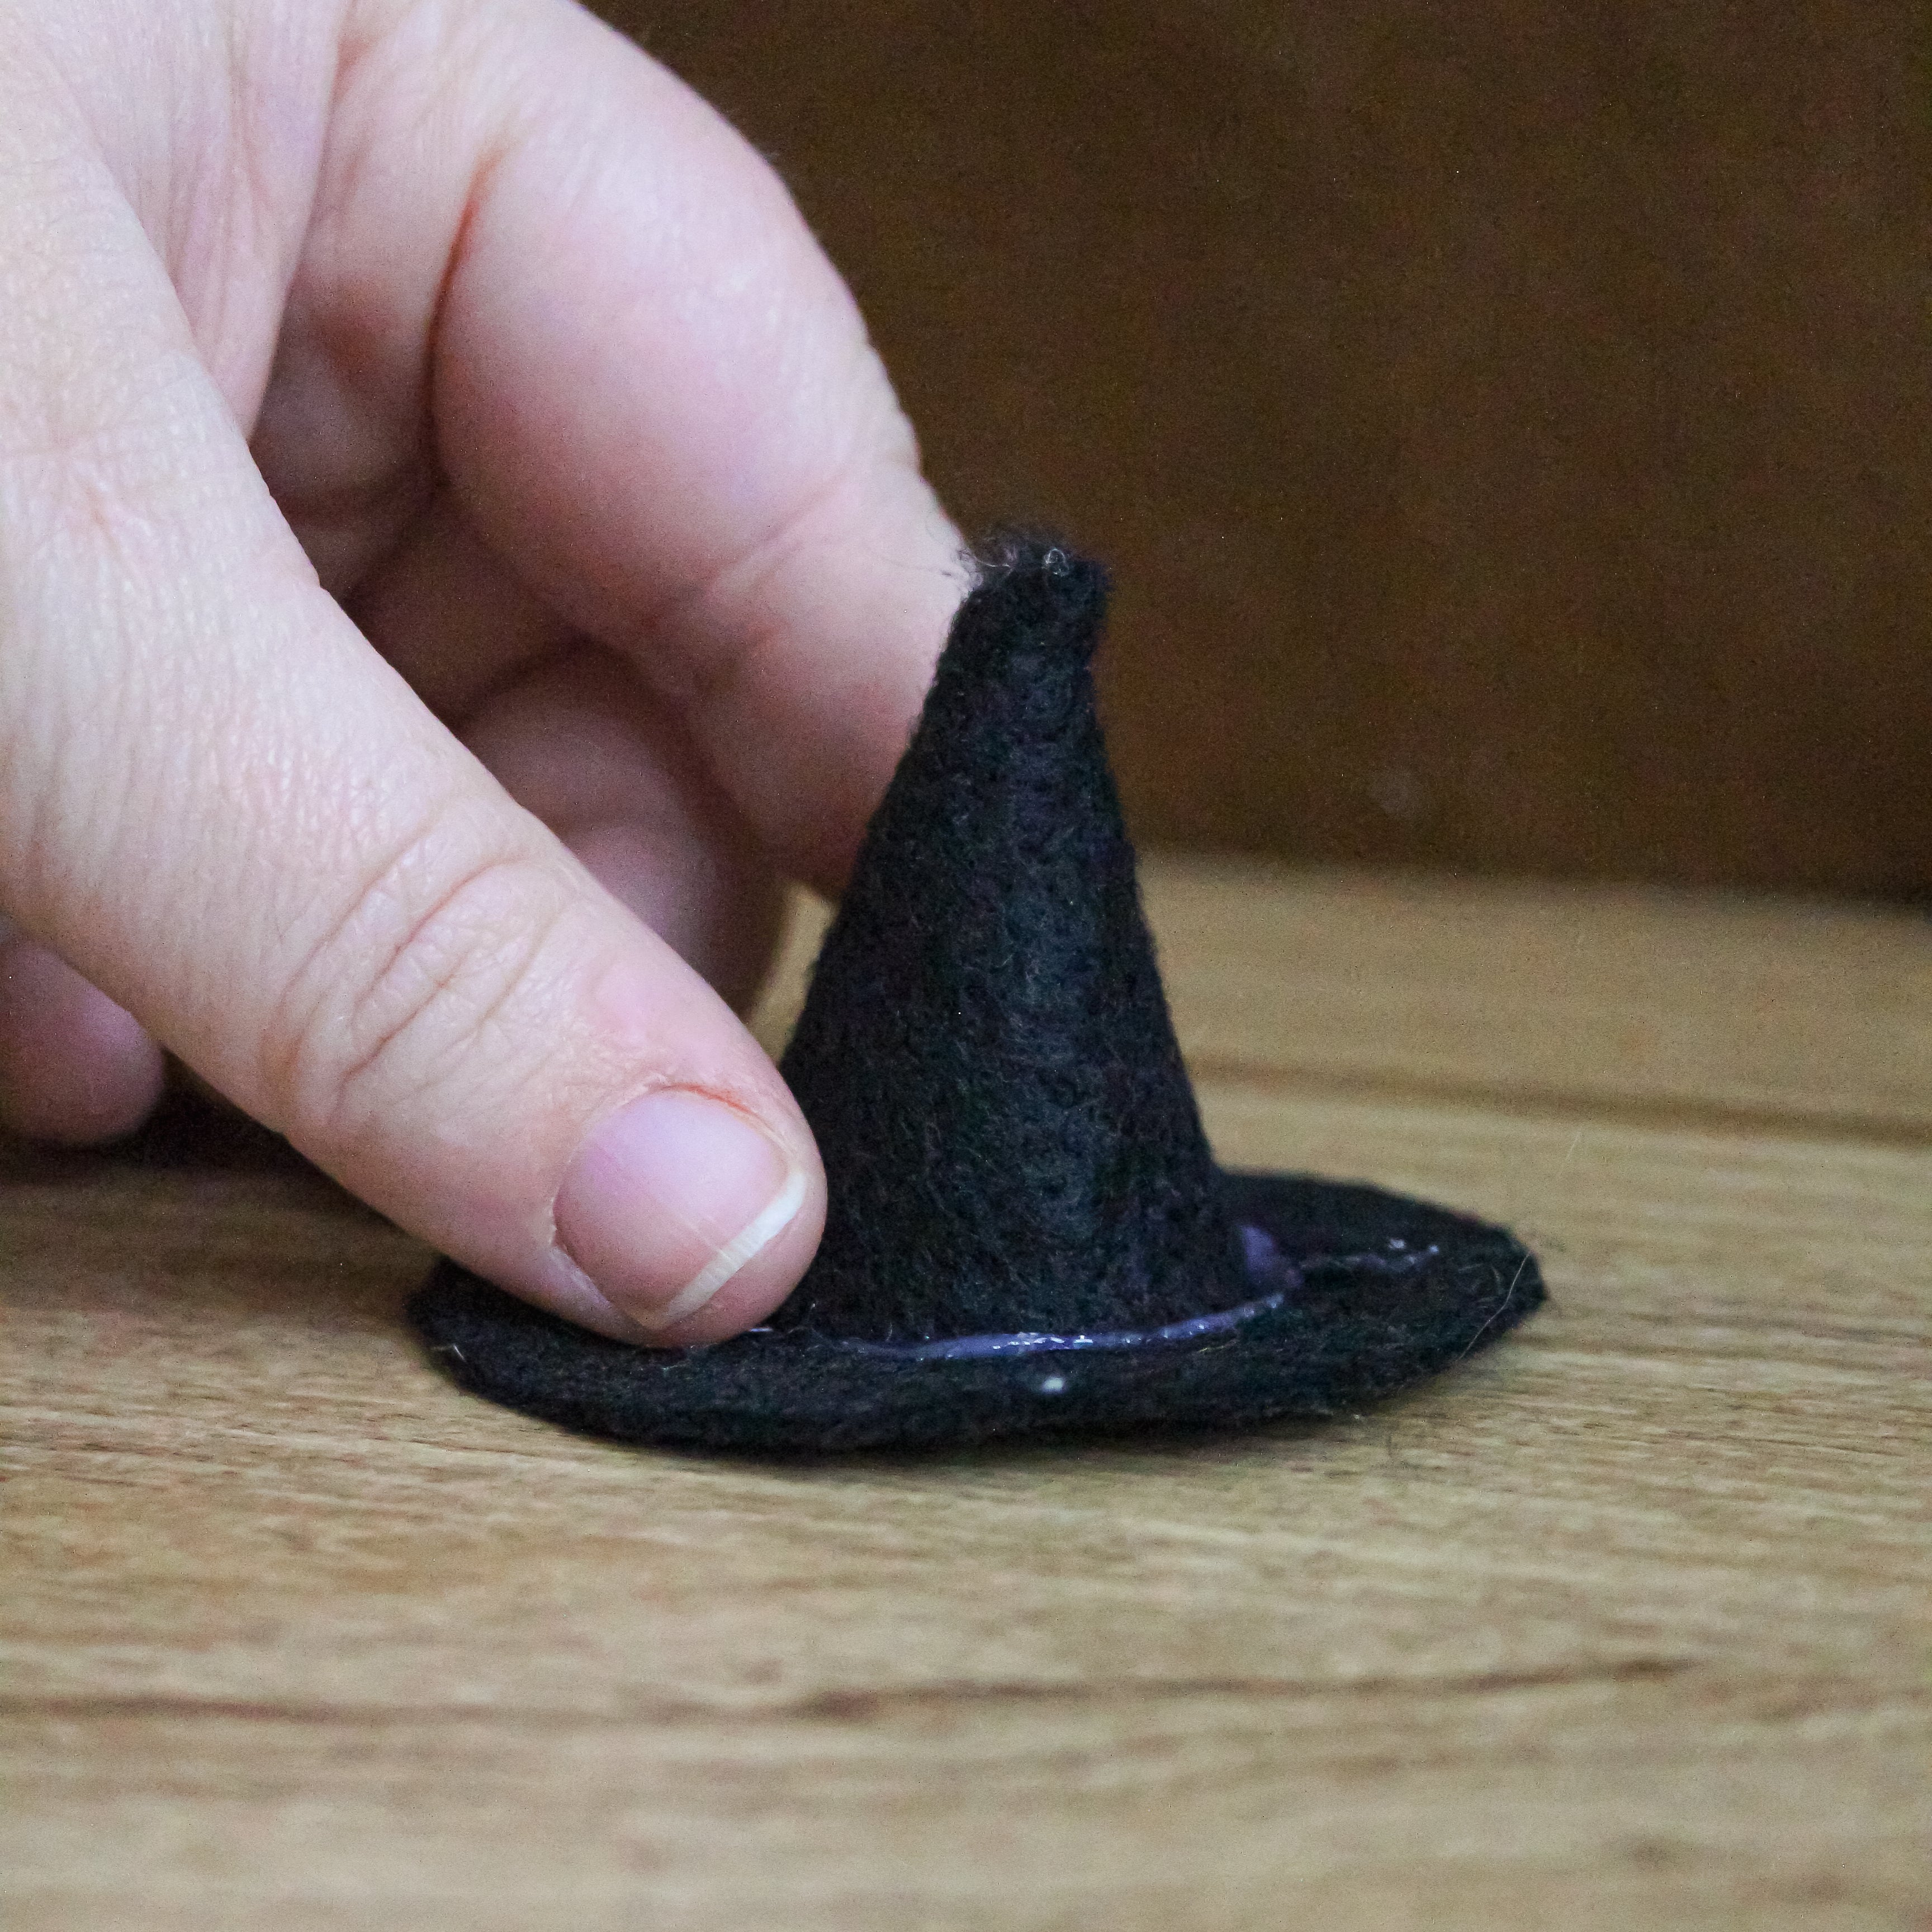
Glue the top cone shape to the donut felt piece to create the witch hat shape.
Step 5:
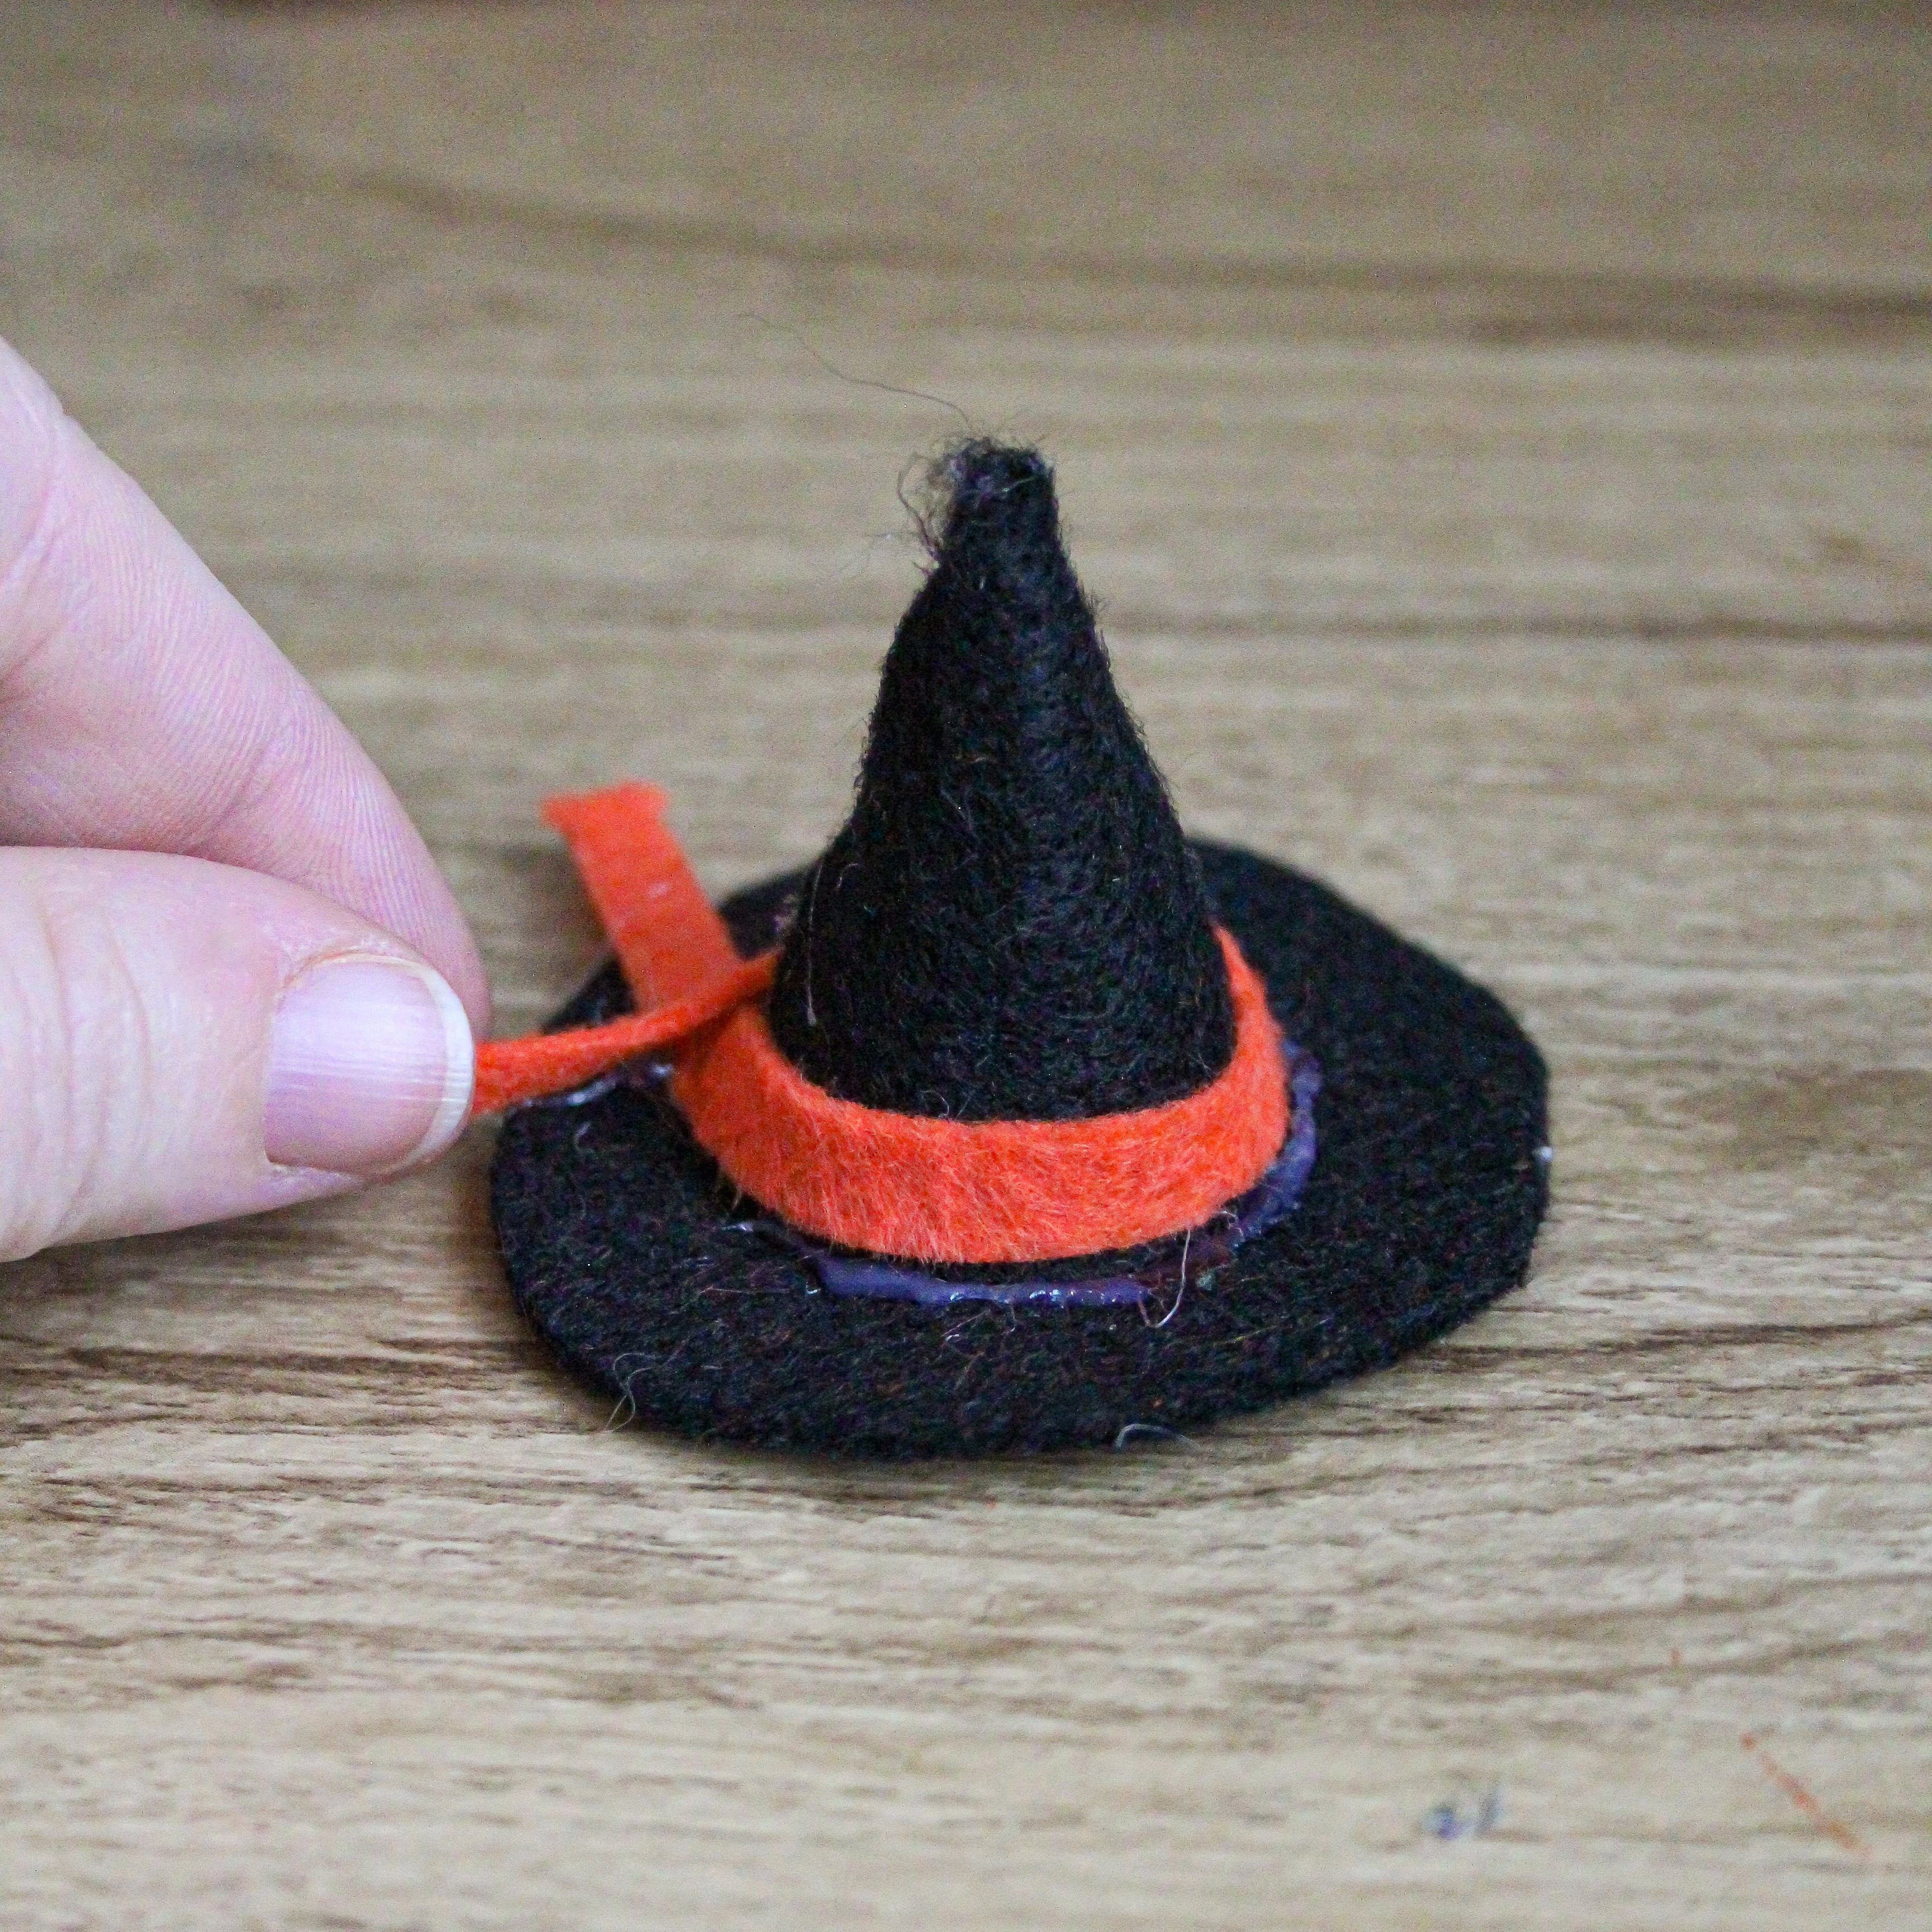
Add your own personal touches to finish the hat!
Step 6: Make the Felt Witch Dress
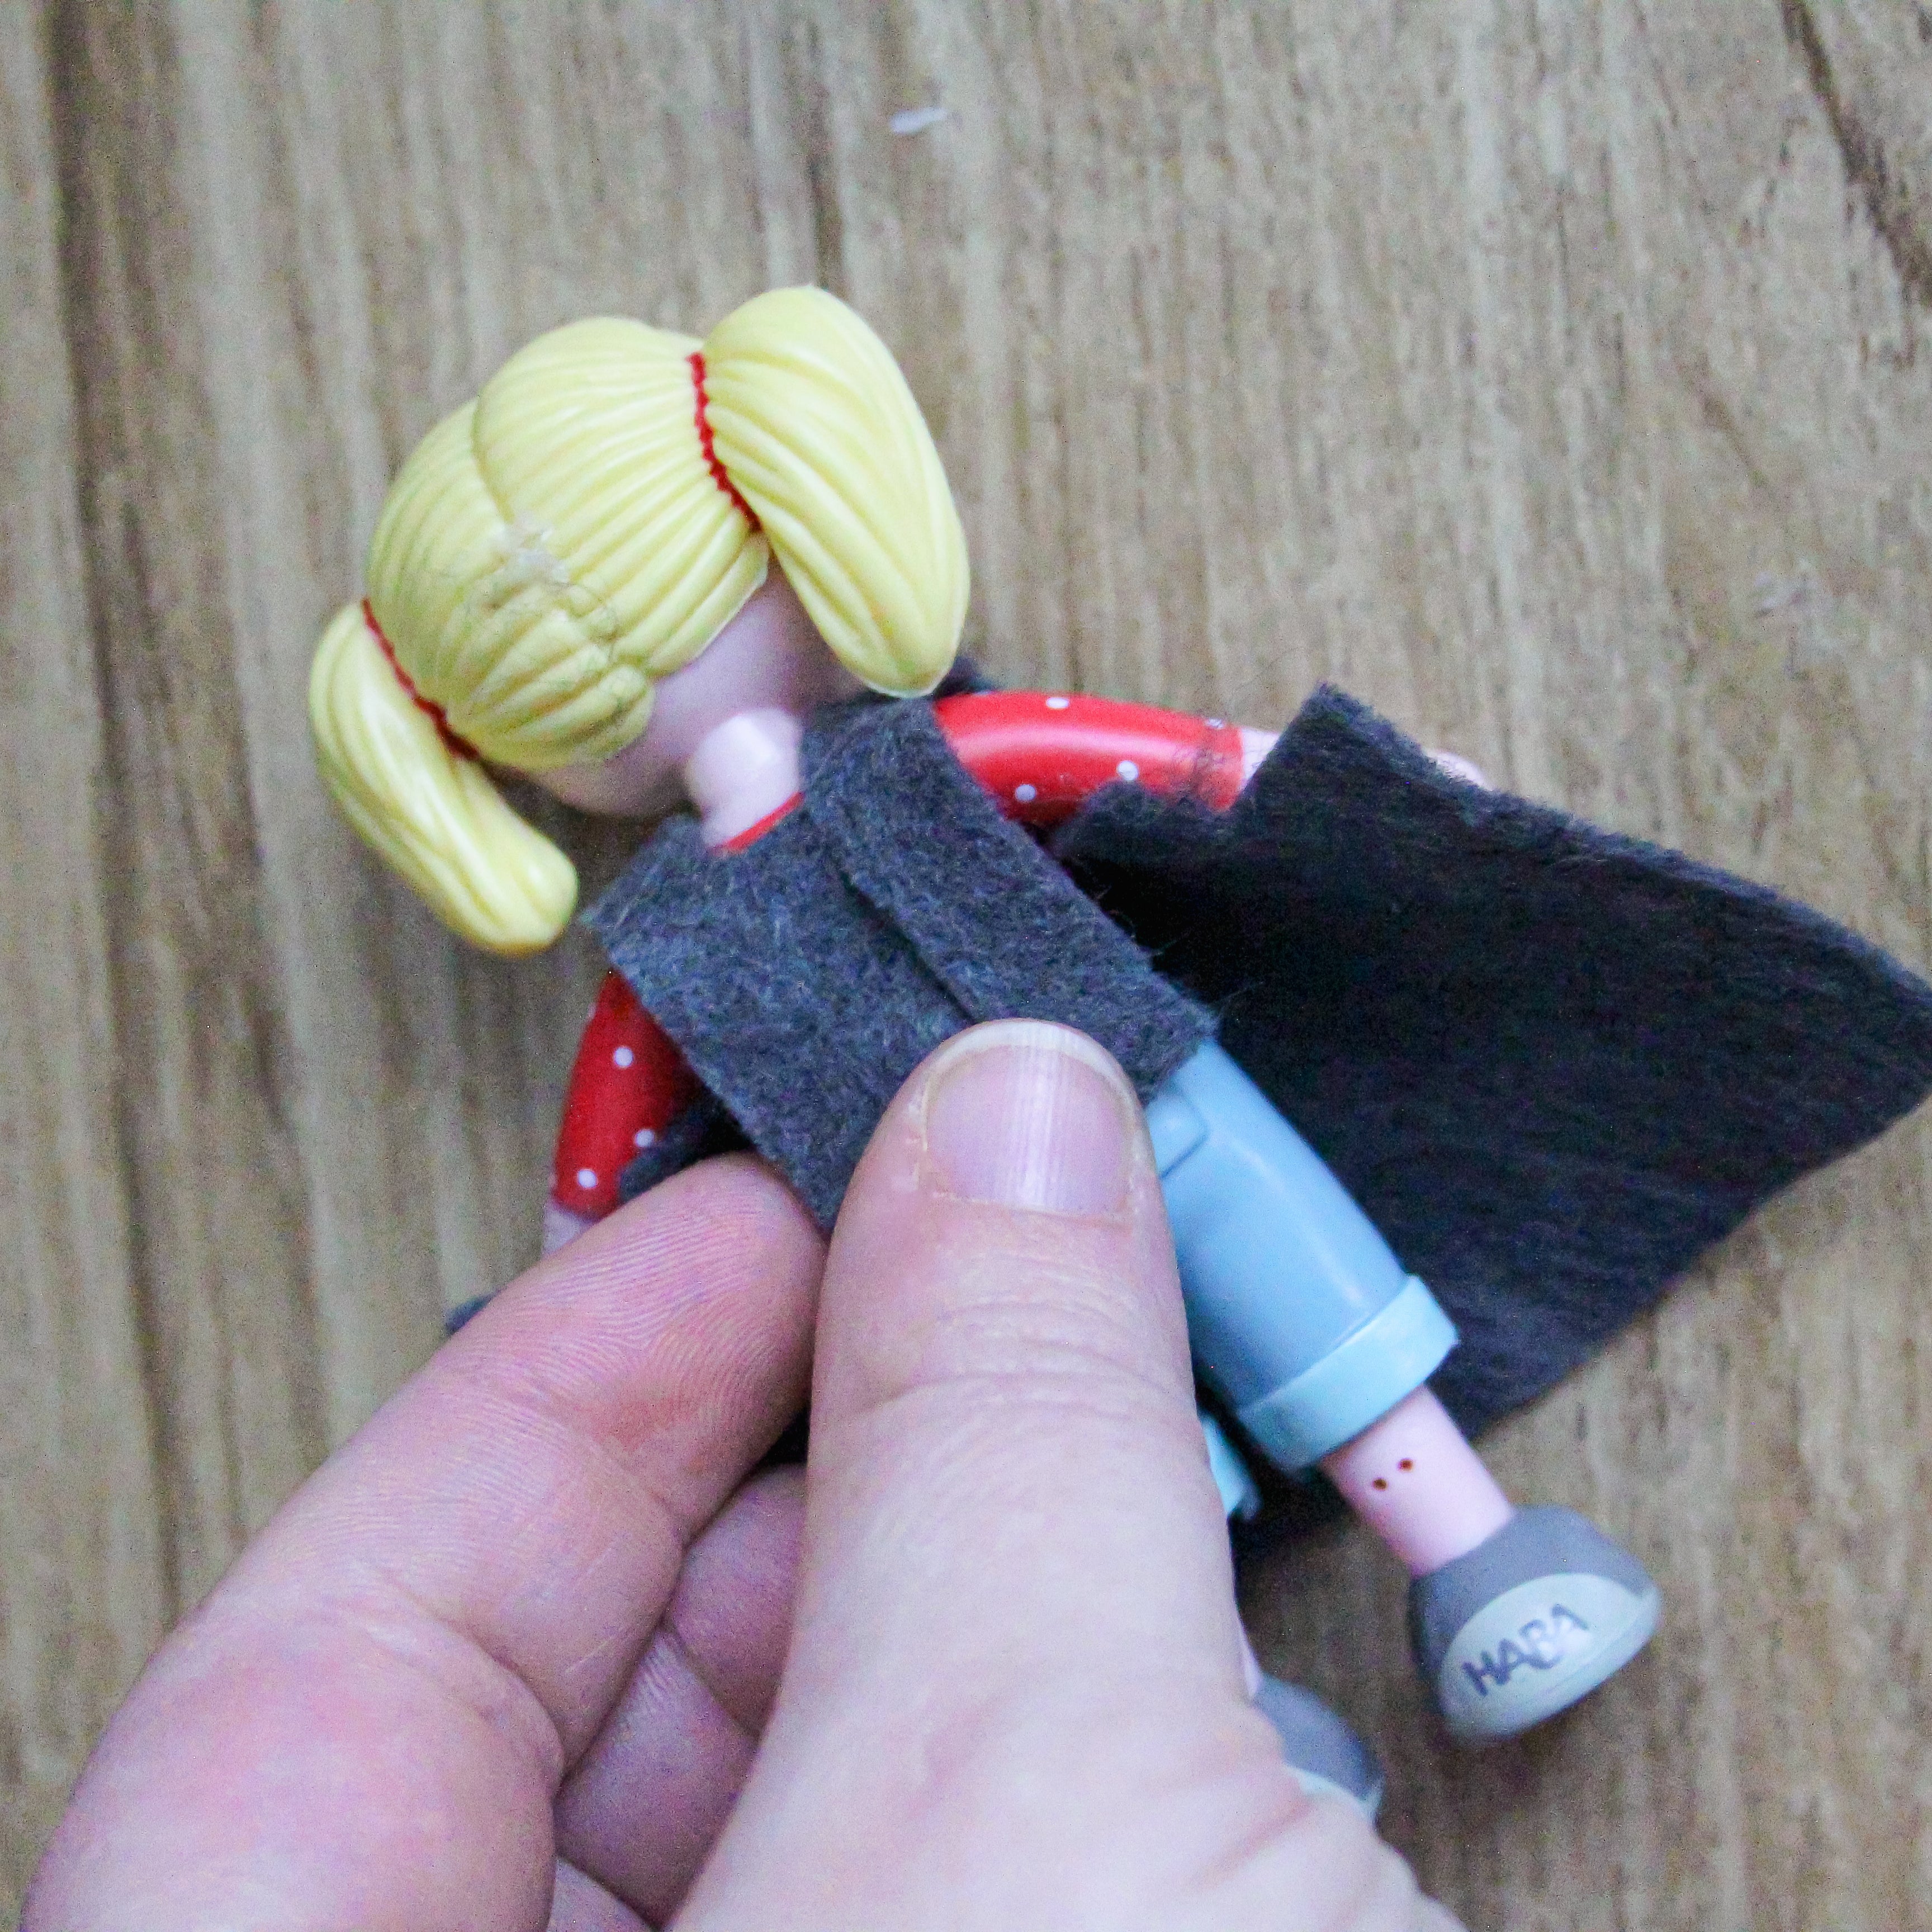
After cutting out the dress felt piece, fold around your Little Friends Doll and hot glue the back pieces together, securing the top under the skirt.
Step 7:
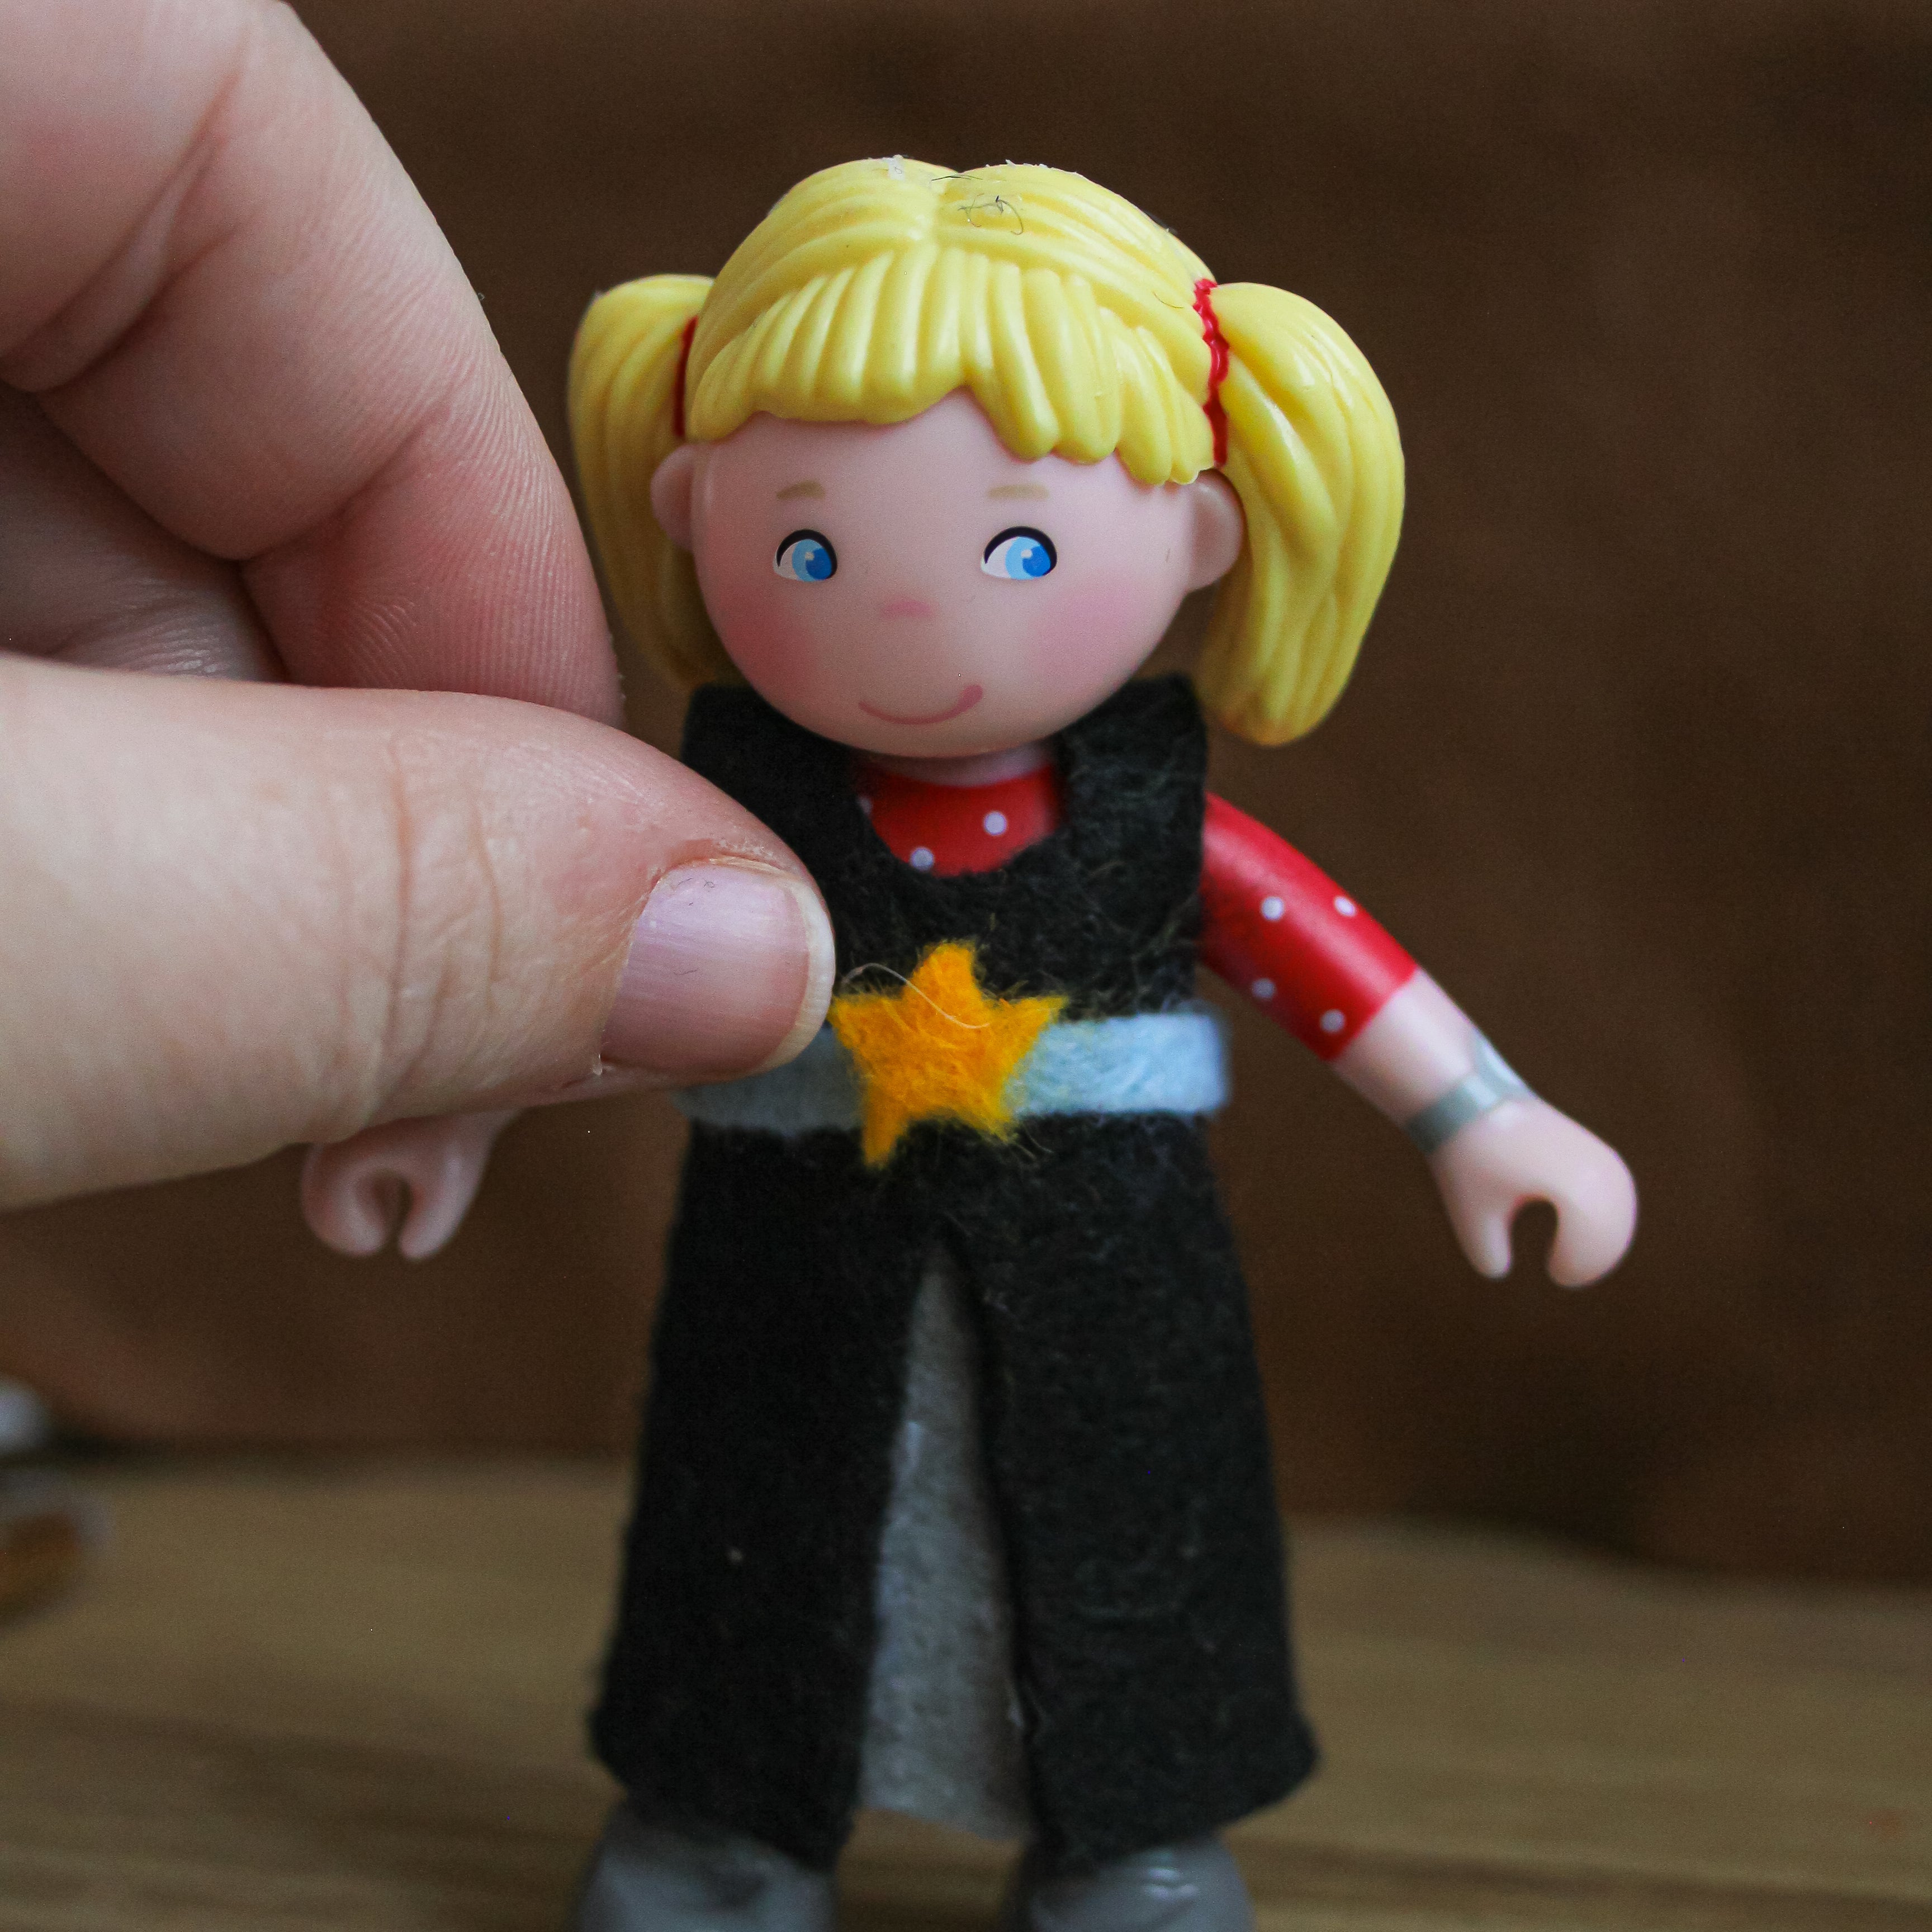
Add your own personal touches to finish the dress!
Step 8:
Put all the felt pieces together to create the full look!
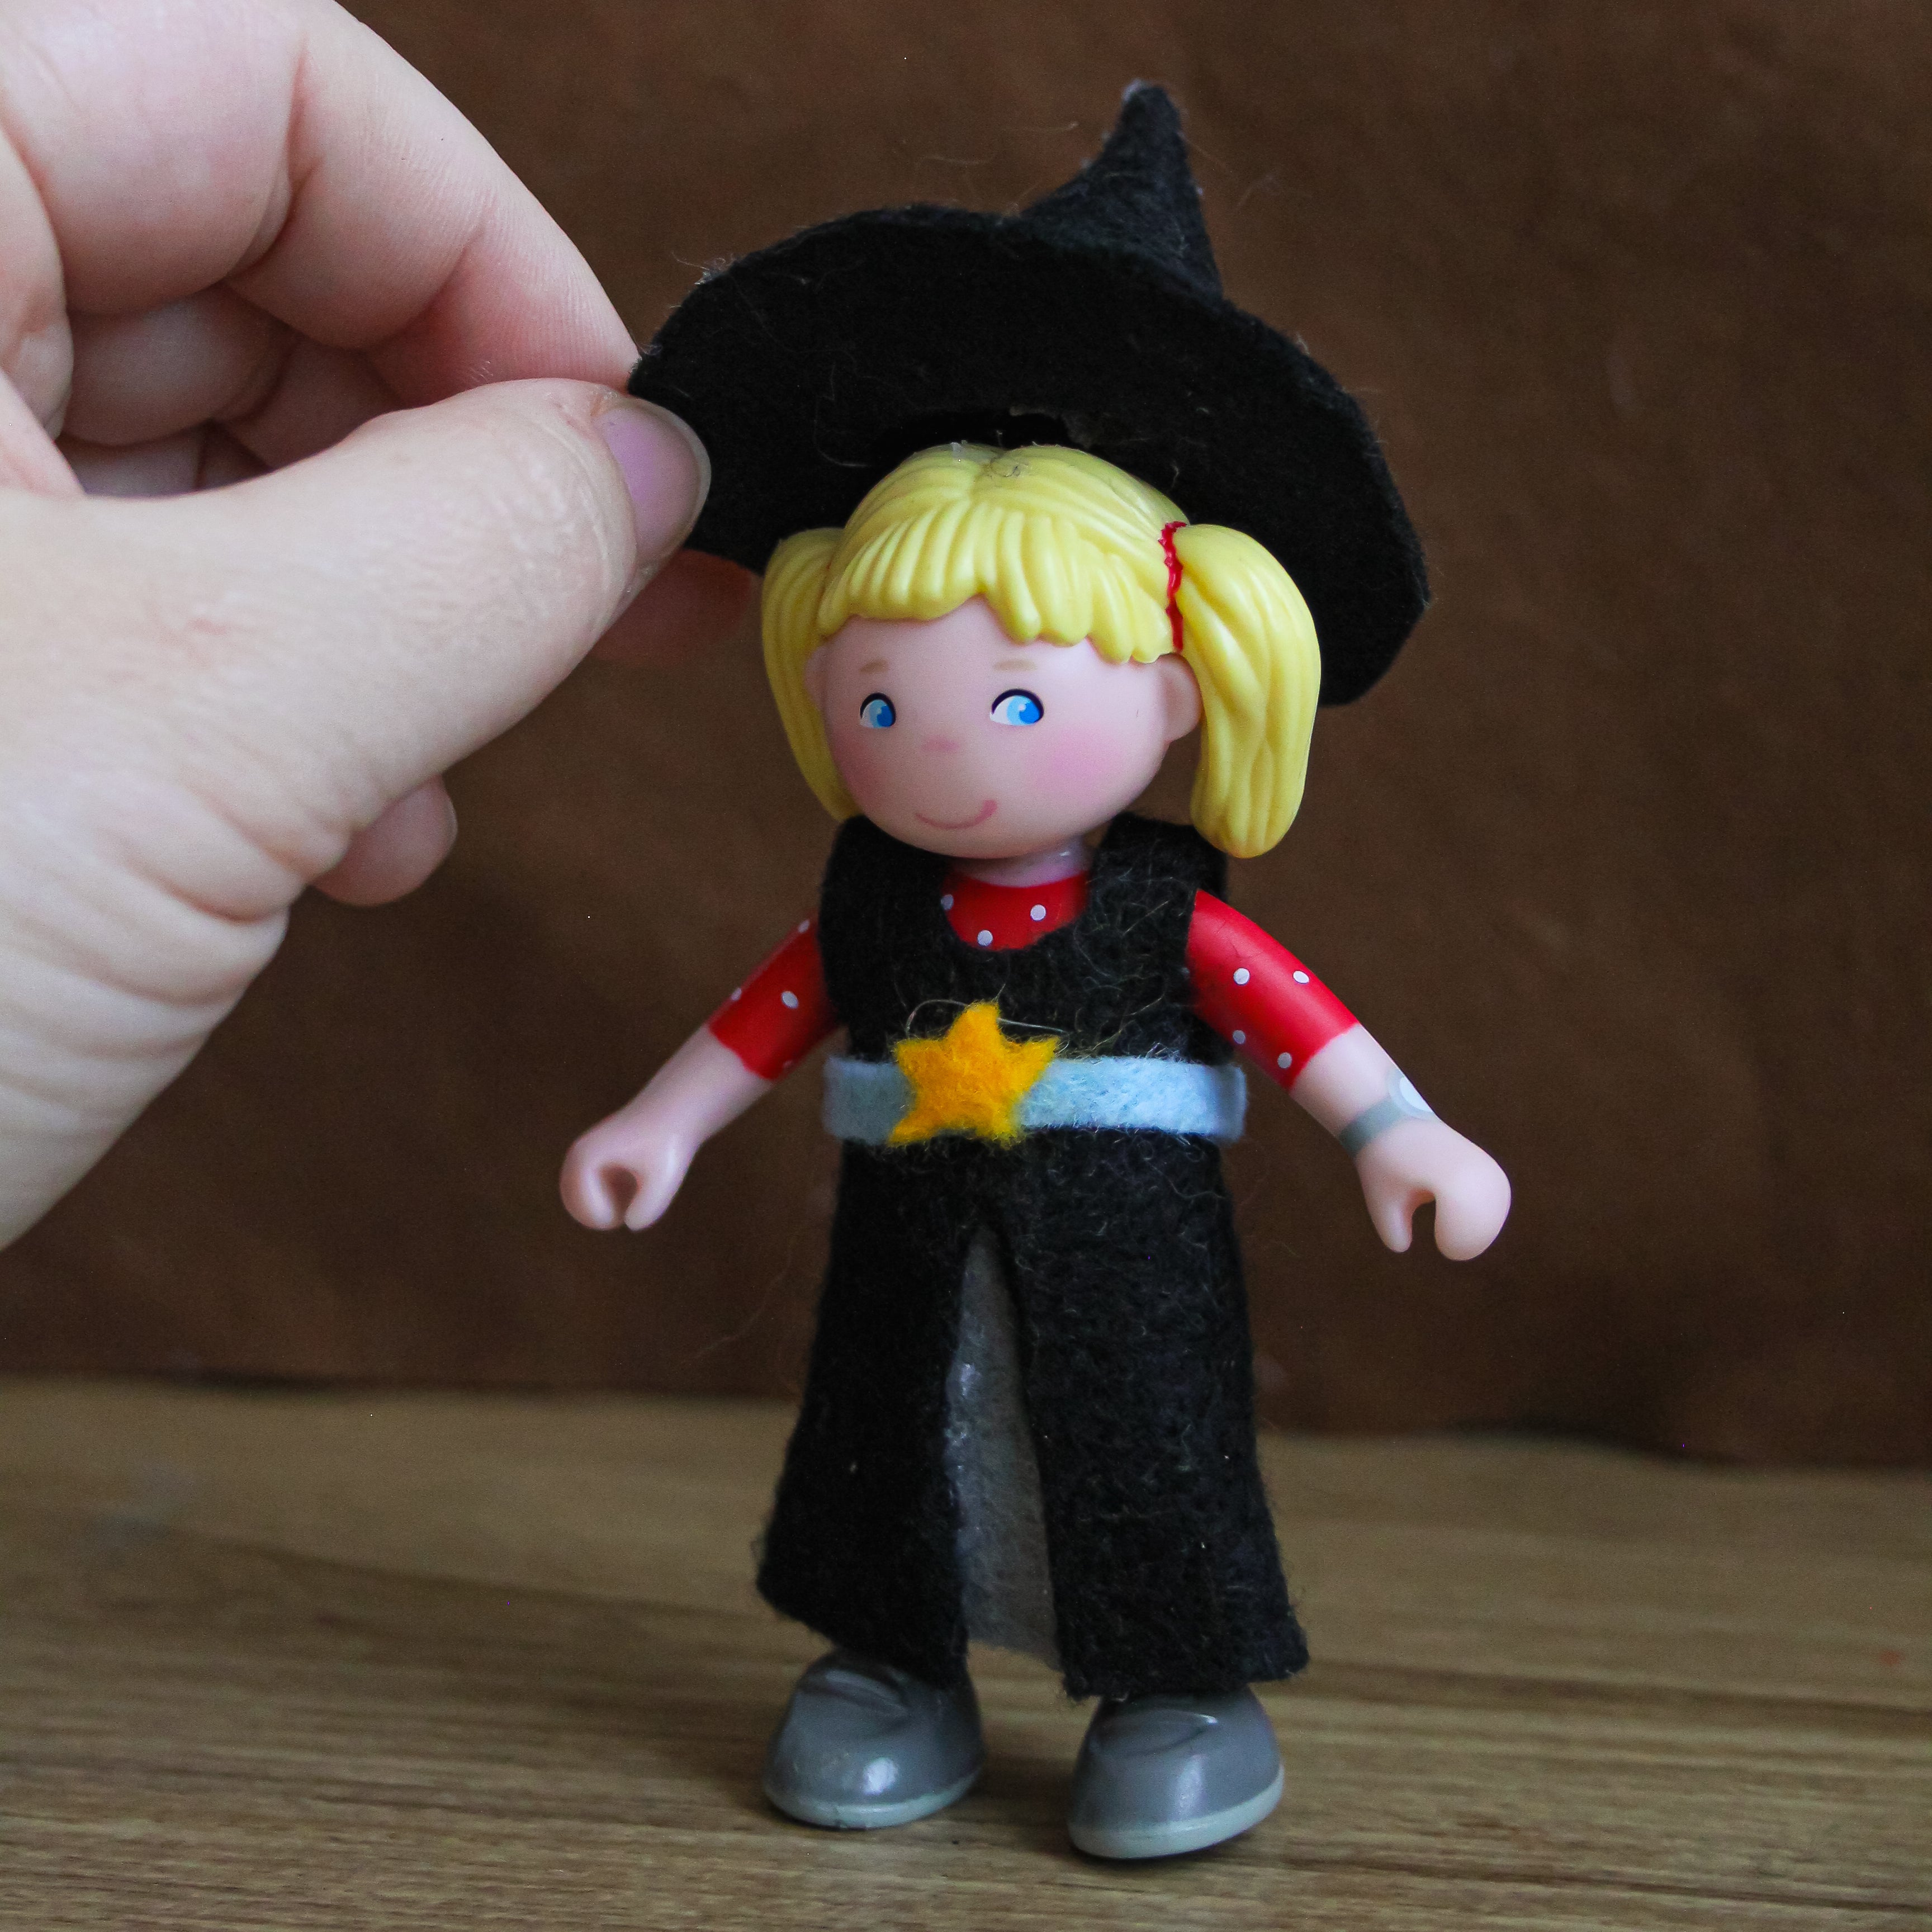
Step 9:
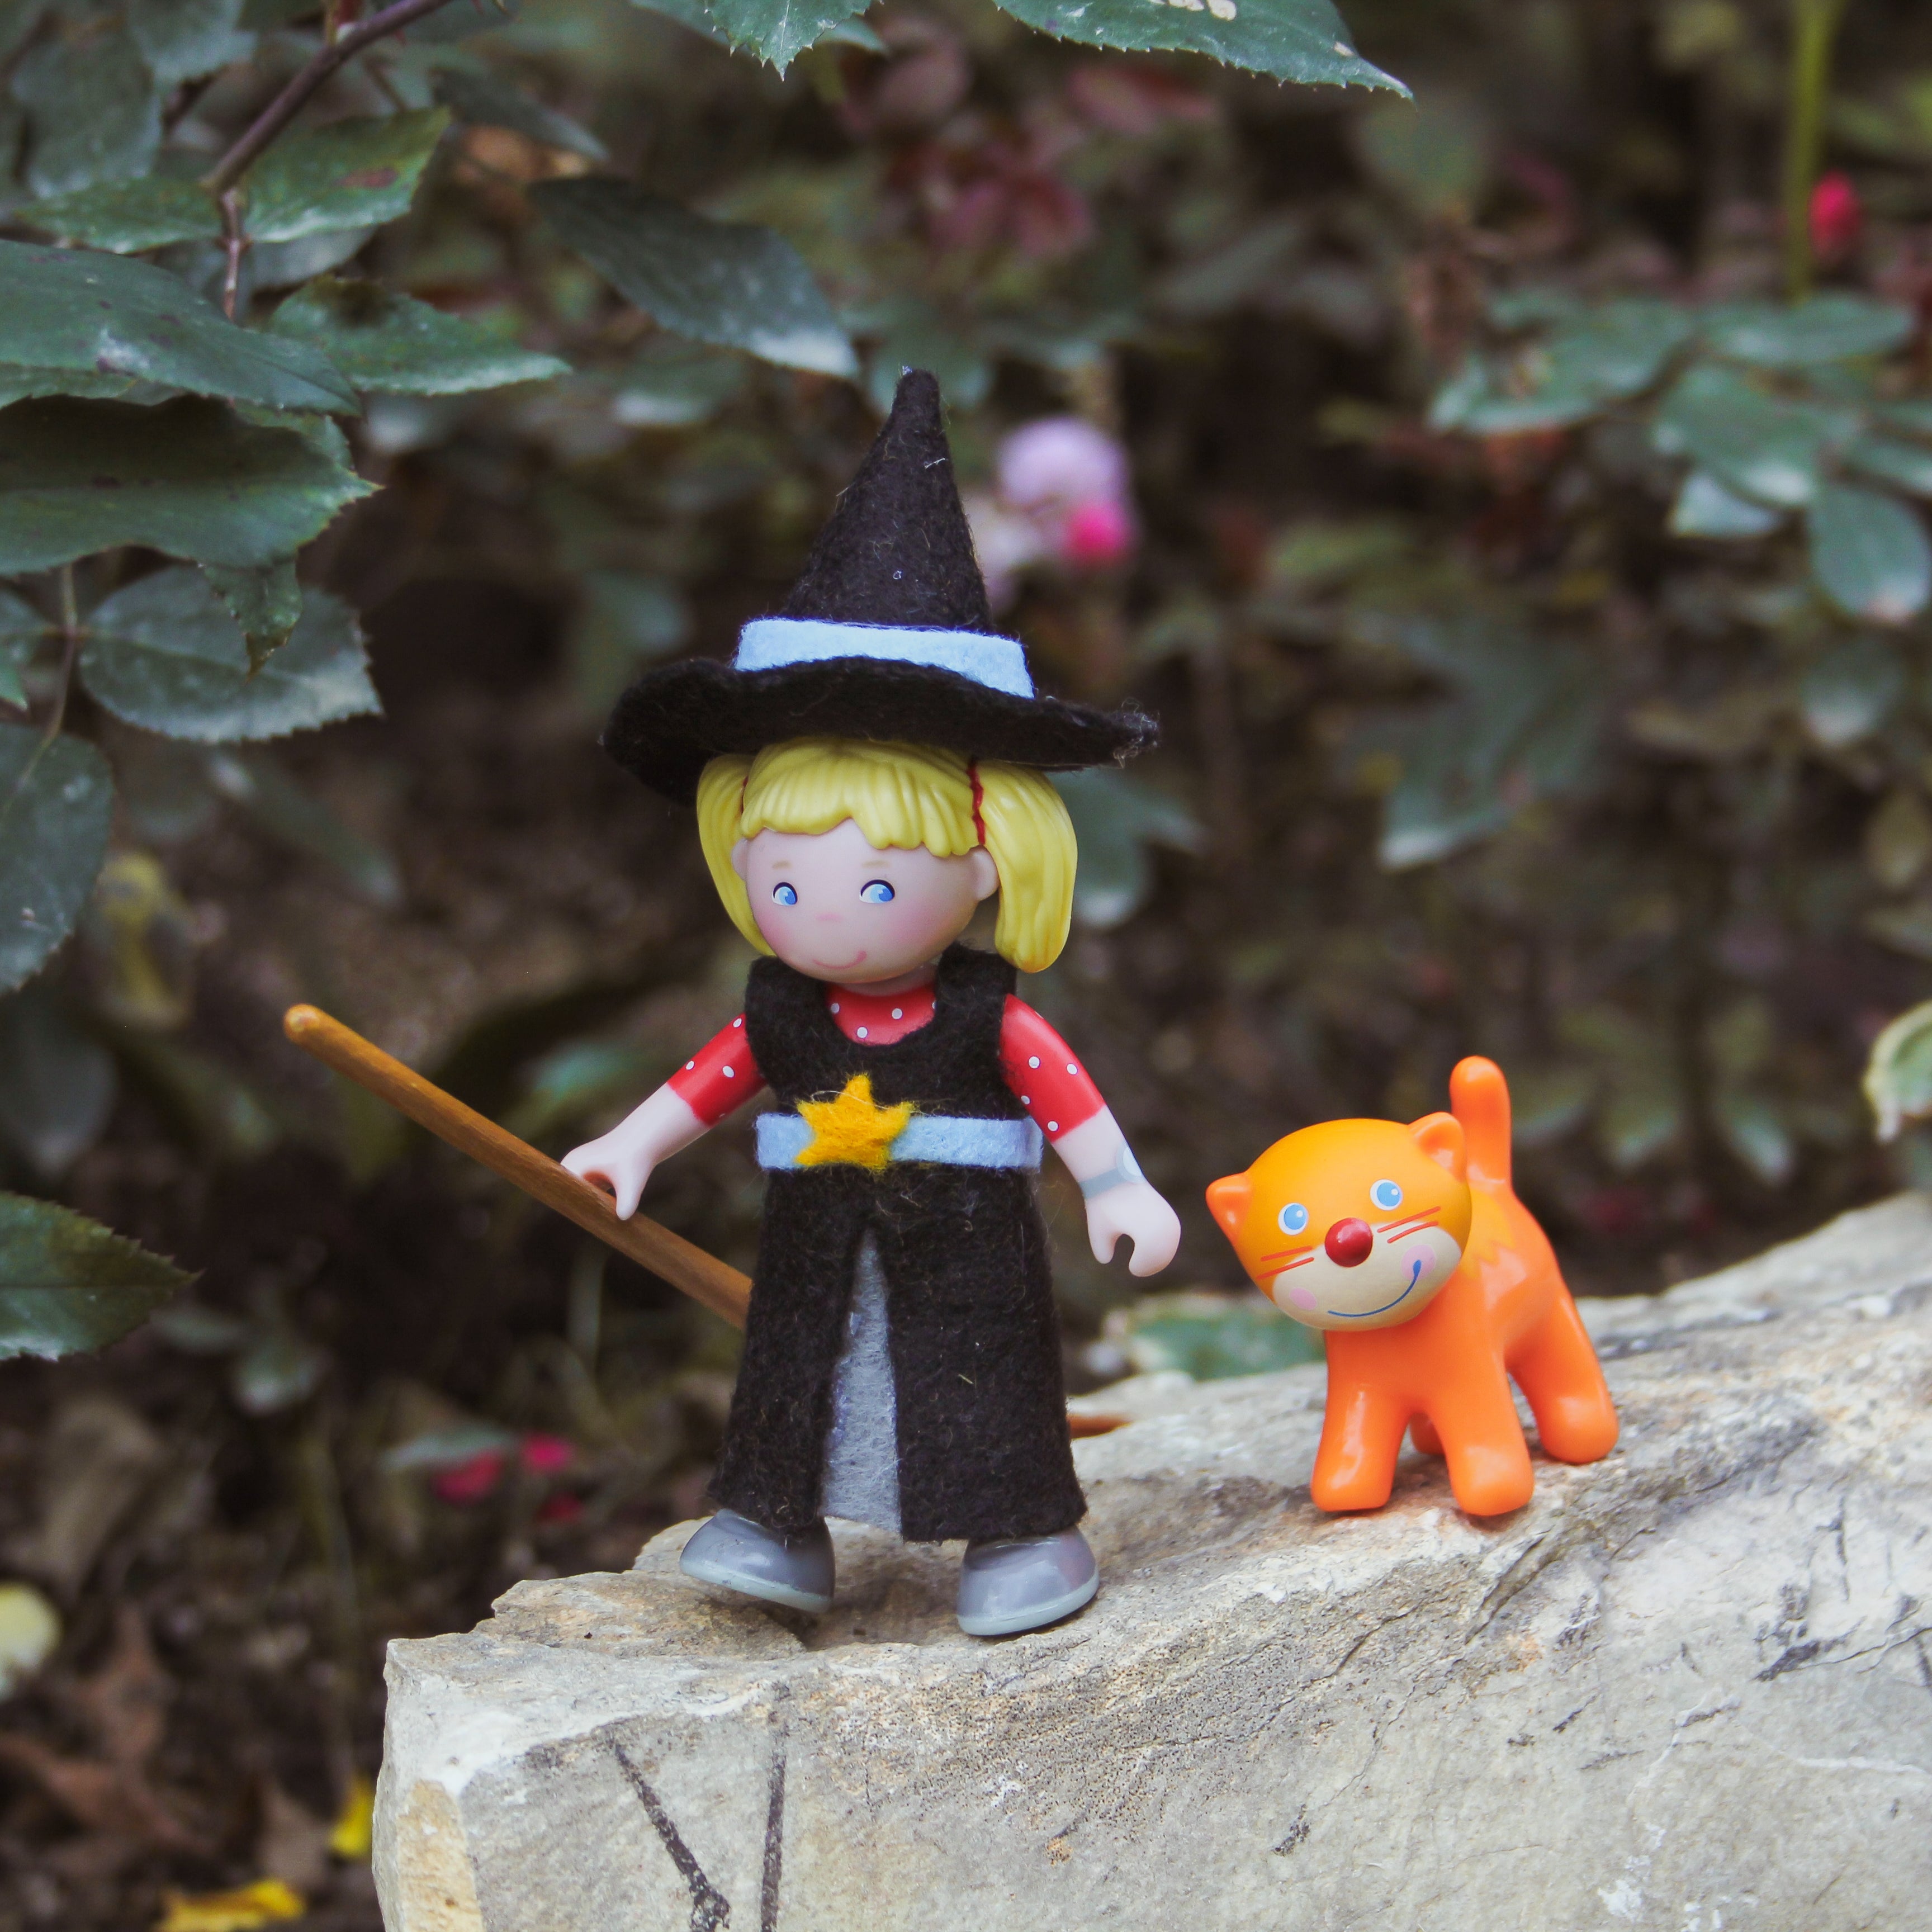
Take your Little Friend on an adventure! TIP: A small paintbrush makes the perfect broom for magical moonlight rides!
Step 10:
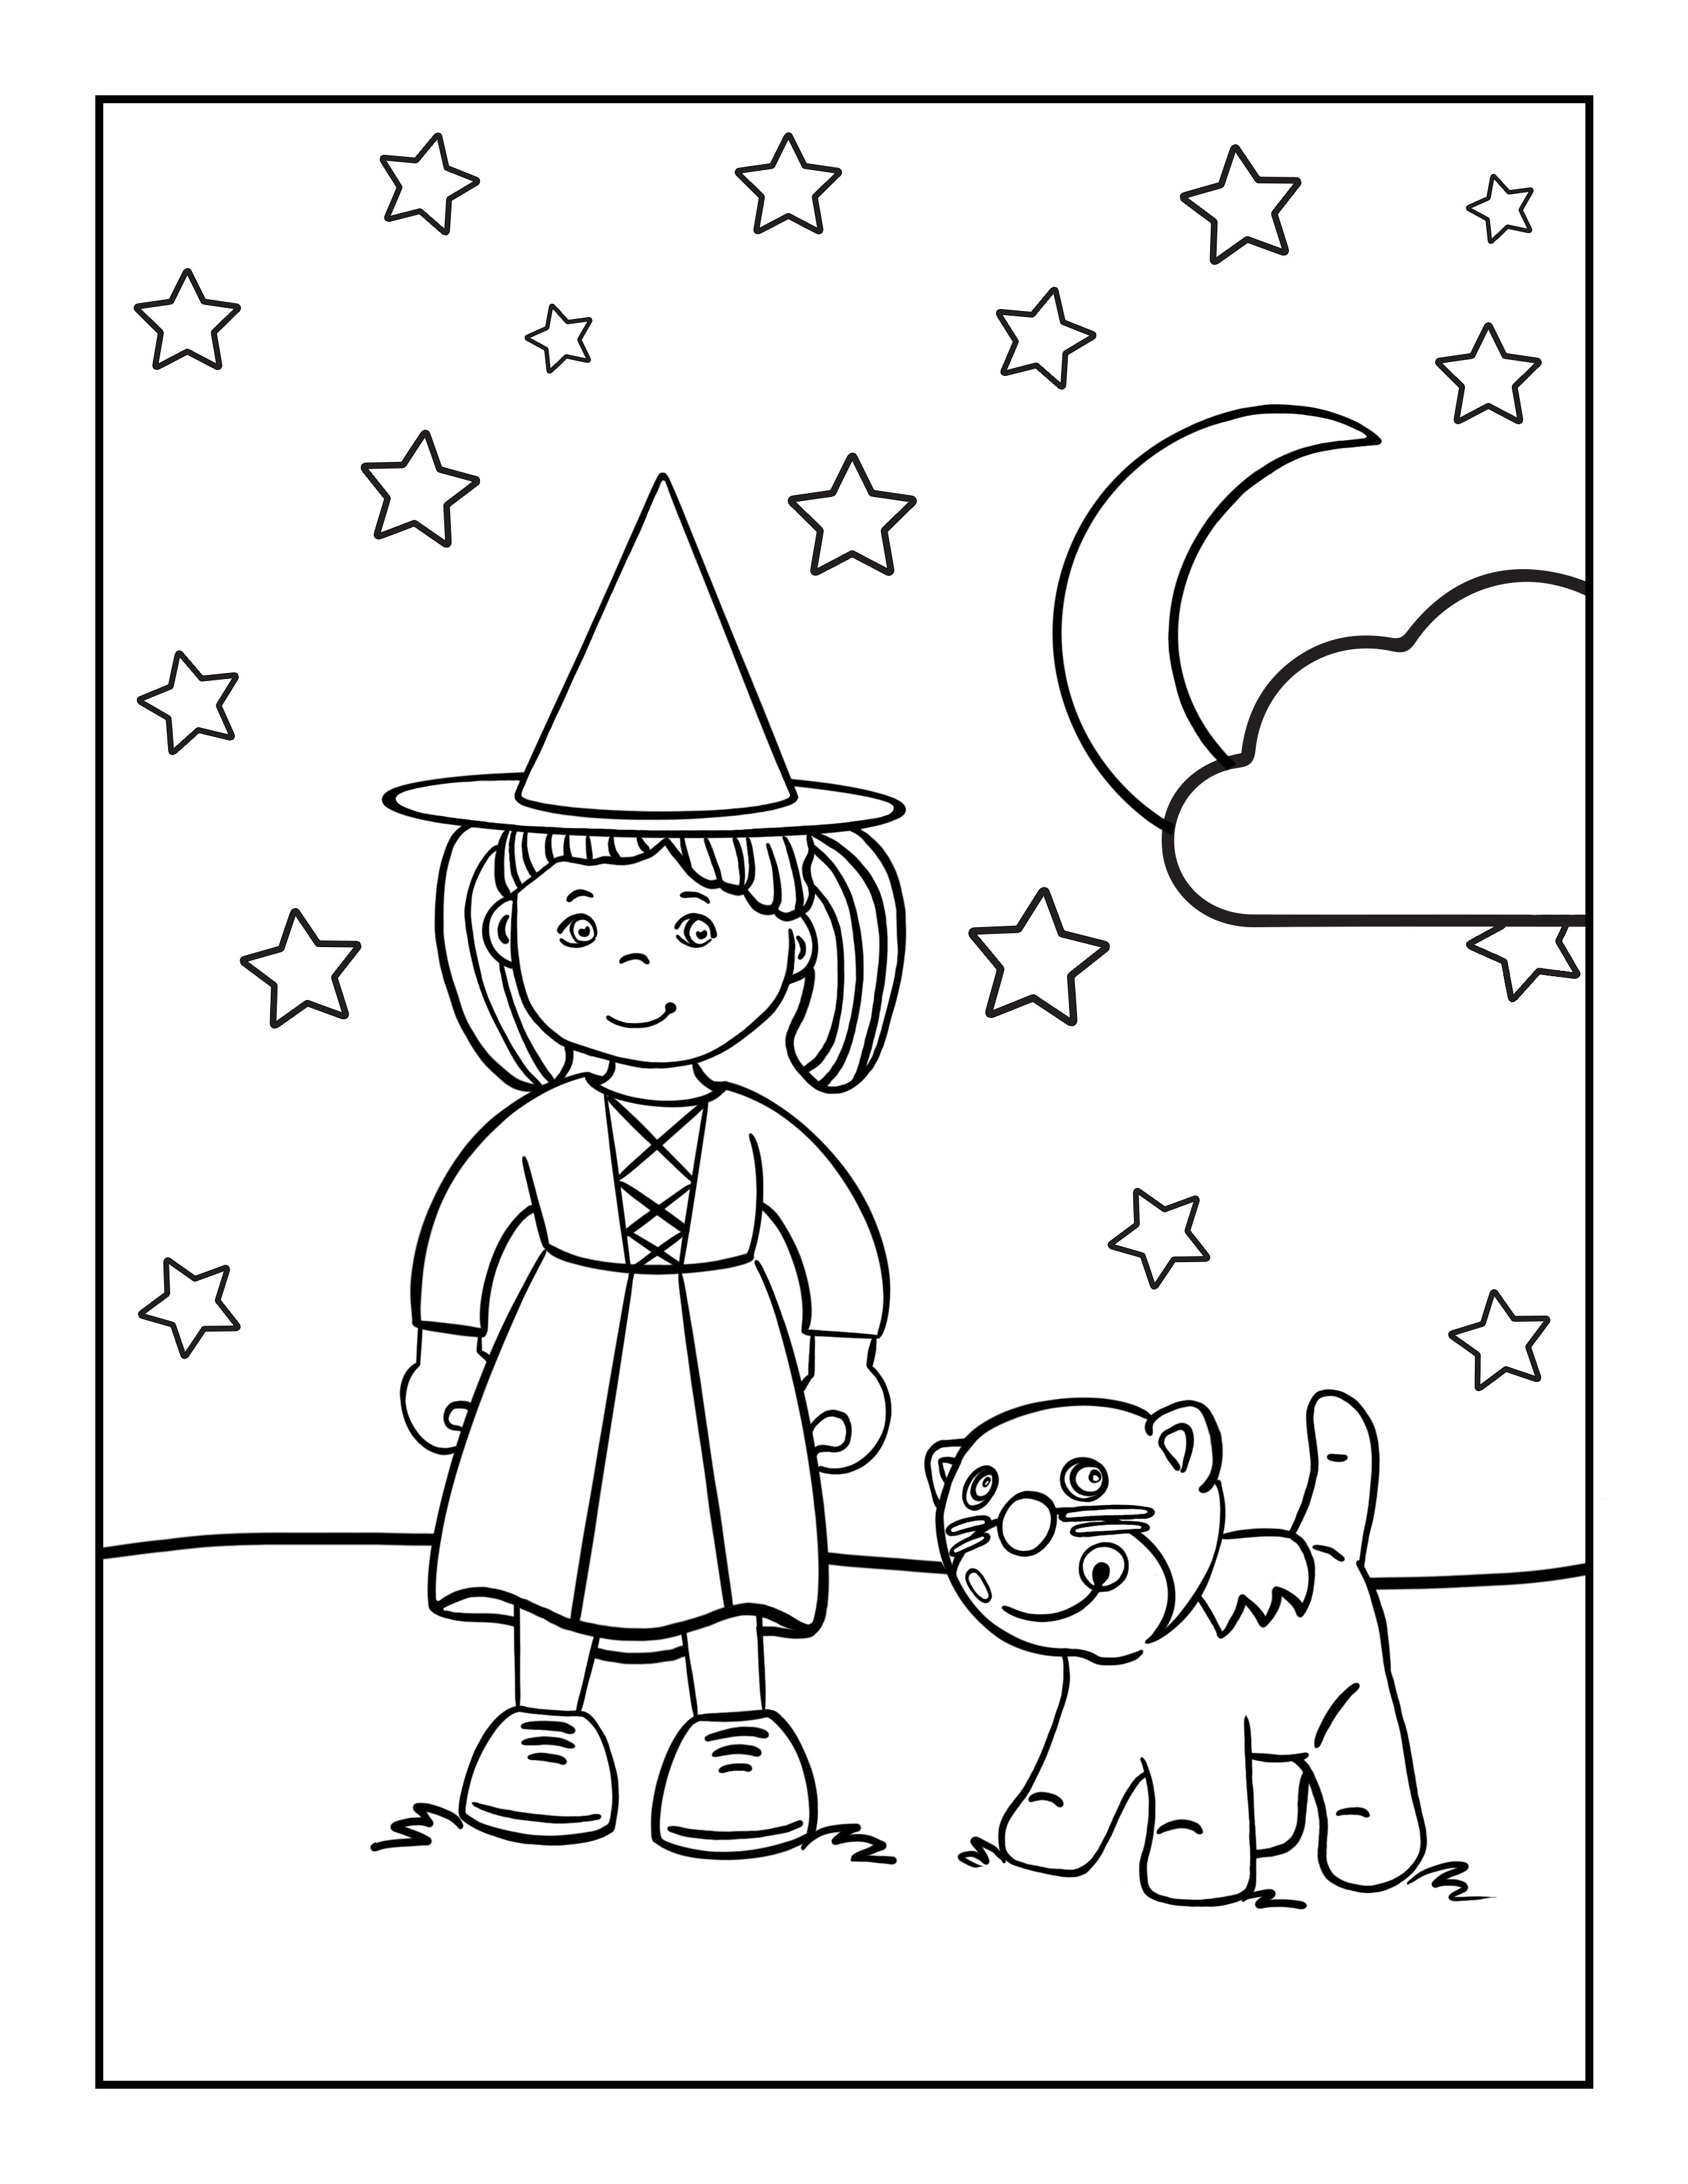
Download the paired coloring page HERE for extra adventures! Tag us in your creations @HABAUSA for a chance to be featured!


Leave a comment